To access Power Automate in a few simple steps, this is what you need to do:
Log in to your Office 365 account and launch.
Type in “Power Automate” in the search bar for quicker access.
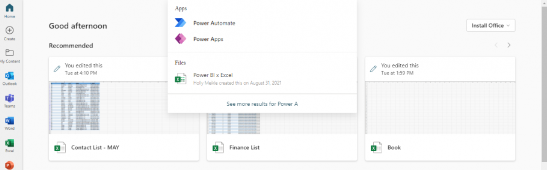
You should be able to see a similar view as shown below.
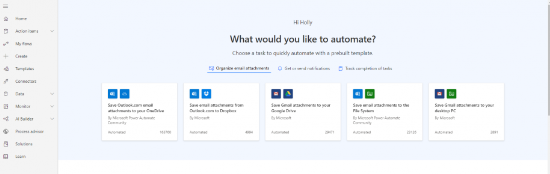
Click on “Create”, on the left-side menu. Then, “Instant cloud flow” under the “Start from blank” menu”

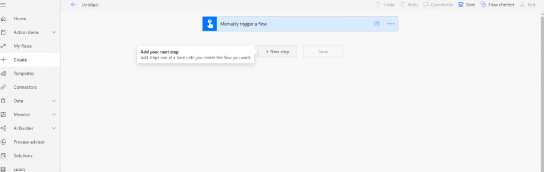
Select Manually trigger a flow” from the trigger option.
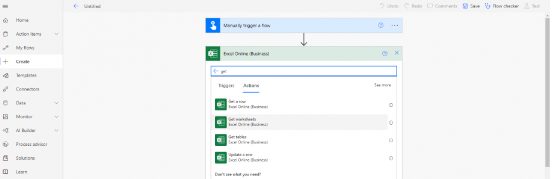
In this case, you’ll see that “Excel Online” shows up among the first options.
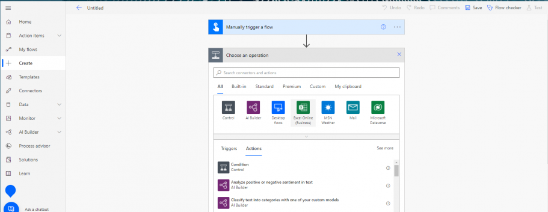
see a list of “Actions” that the flow should perform. Type “Get” in the search bar, and it will prompt all actions that entail this action verb. Here, I will select “Get worksheets”.
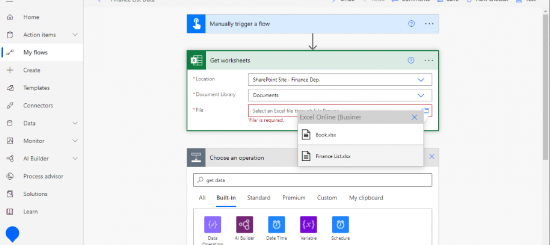
choose the location of your Excel data. Here, I will choose the SharePoint site you created previously, “SharePoint Site Finance Dep”.
saved your Excel file in the site’s “SharePoint Document Library”. If not, it won’t appear among the options below. Select “Documents”, then select the file to get data from.
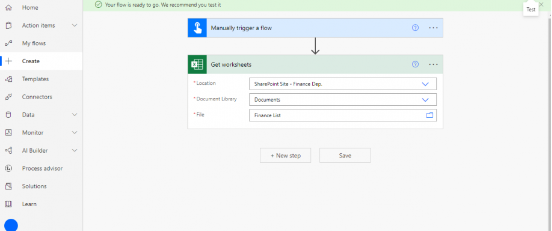
Click “Save” to finish creating the flow. You’ll see how Power Automate recommends testing the flow. To test, simply click on the “Test” button to the far right
.
“Review connections and actions” to make changes or “Run flow” to start testing

Then you should see green ticks and the success message, “Your flow ran successfully” .
