
Go to make.powerapps.com, head over to a Solution file you’ve already created, and open the Form where you want to apply the control.
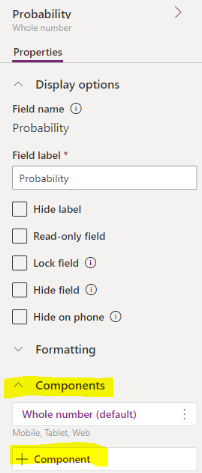
Click on the field that will convert from a number to the Linear slider.
On the right-hand panel that expands, click Components and then click the + Component button:
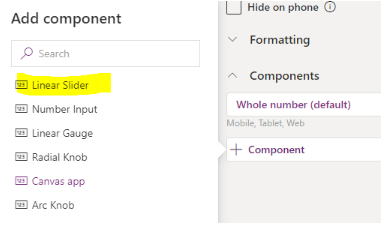
All controls available in the maker experience will show up. In this example, select Linear Slider.
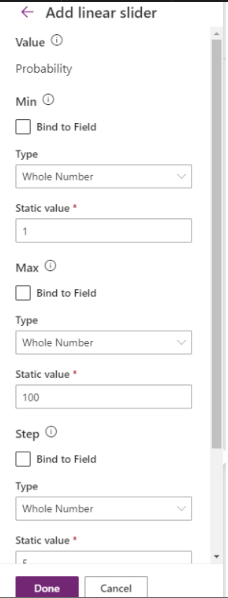
Min: What is the minimum value for this field (the left-hand side of your Linear Slider)?
Max: What is the maximum value for this field (the right-hand side of your Linear Slider)?
Step: What value should each increment on the slider represent?
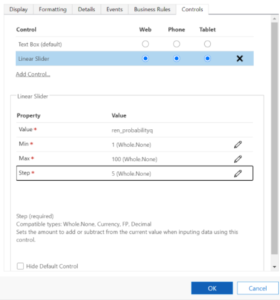
Next, you need to configure the Min, Max, Step values. Here, we are updating probability, so we will set a Min of 1 and a Max of 100 with a Step of 5
Confirm scope (showing the component on Web, Mobile, and/or Tablet), then click Done.
Finally, Save & Publish your changes!
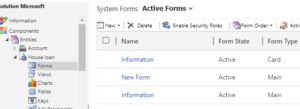
From the Classic Solution Designer, open your Entity.
Open the Form on the Entity.
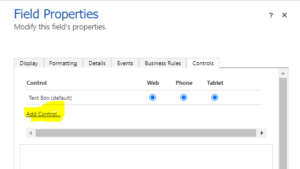
From the Form designer, open the field you want to apply a custom control on (in this example, we will use Probability on the Lead).
Click the Controls tab, then click Add Control… (highlighted below).
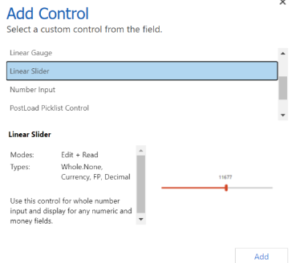
Select Linear Slider from the list that appears in a popup window, then click Add.
Set your Scope by selecting Web, Phone and/or Tablet from where you’d like this control to appear.
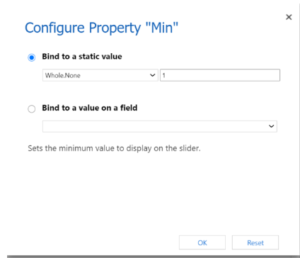
Below the Scope, you need to configure Min, Max and Step. First, click the pencil icon next to Min.

In the new window that opens, you will Set the minimum number on your slider (in this example, we want it to be 1). Select the option to Bind to a static value then enter your value. Click OK.
This time selecting the increment for each move upon the slider.
Back on the Field Properties box, click OK at the bottom.
This takes you back to the Form editor. Save your changes then Publish