Login to Powerapps and the home page will be opend as shown in below.
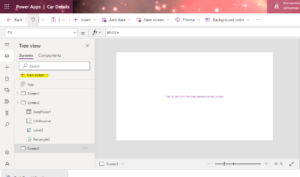
From the menu we need to choose “New Screen”.
Go to the Insert menu, control and drag the CheckBox control.
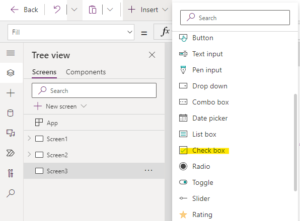
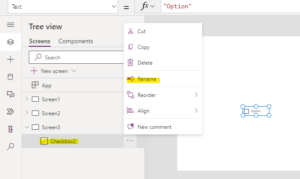
Drop the CheckBox Control on the screen.Rename the CheckBox name to chkReserve.
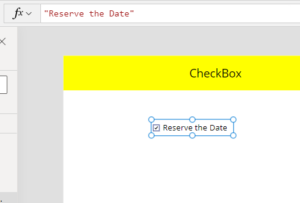
Change the Content “Reserve the Date”.
Go to the Insert menu. Subsequently, it controls and drags the Date Picker control.
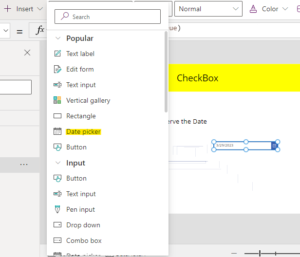
Select the Date Picker control and add the code, mentioned below.
If(ChkReserve.value=true,true)
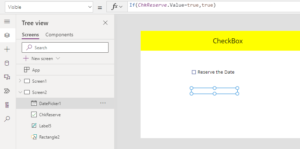
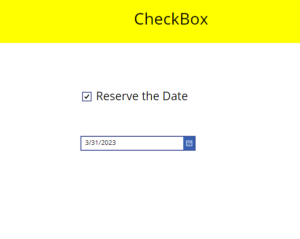
Run the App the Main Screen will be looks as follows.
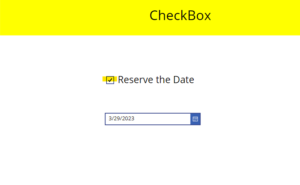
If we check the “Reserve the Date” then only the date will appear.
we can select the date or change the date .
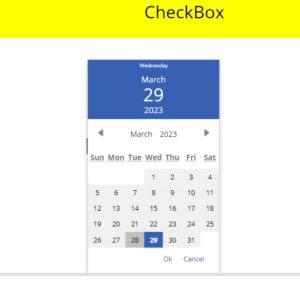
I hope, you understood how to Add the CheckBox control in Microsoft PowerApps and how to run it.
For any Help or Queries Contact us on info@crmonce.com or +918096556344

