Power Automate Introduction
Power Automate in today’s digital age, businesses and individuals rely heavily on Microsoft’s suite of productivity tools to streamline communication and collaboration. To enhance your workflow and optimize data management, it’s essential to bridge the gap between these tools, especially Outlook and OneDrive. In this article, I’ll explore how to seamlessly copy Outlook email attachments to a OneDrive or SharePoint folder using Power Automate.
Step 1. Log into Power Automate.
Step 2. Open an Automated cloud flow.
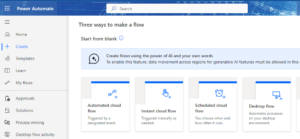
Step 3. Enter a Flow name.
Step 4. Choose the flow’s trigger as “When a new email arrives”.
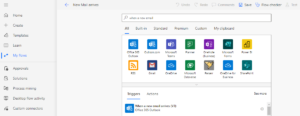
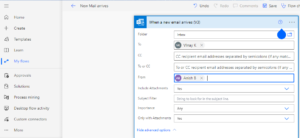
Enter relevant details.
a. You have the option to copy all email attachments, whether they are incoming emails or those directed to you as a recipient or in a carbon copy (cc).
b. You have the option to copy all the attachments that you send or filter by subject.
c. Keep “Include Attachments” as Yes.
d. You have the option to select Importance from High Normal Low, or any.
e. Keep “Only with Attachments” as Yes.
Step 5. Select Choose an Operation as “Create File” in OneDrive.
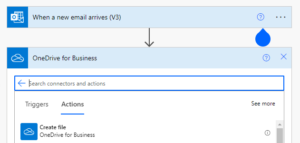
Step 6. Fill in with the relevant folder path in OneDrive, which you need to save attachments.
Step 7. Choose the File name “Attachments Name” to save the attachments in the same name.
Step 8. Choose File Content as “Attachments Content.”
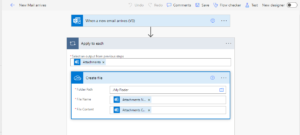
Step 10. Save your Flow and test it manually to ensure your email attachments are saved in the relevant OneDrive folder.
For any help or queries contact us on info@crmonce.com or +91 9014146800

