Introduction In this article, I have explained how to create a form and connect it to a table database using power apps.
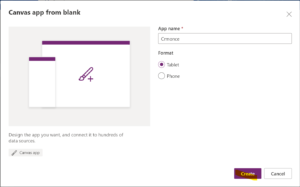
Once you successfully logged into the app tenant, choose the new app option, click canvas app, and provide the required details like (App name, Description, etc).
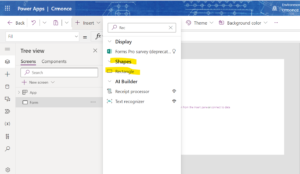
Once the app has been created successfully, rename the screen if needed.

Click the first screen to insert the rectangle shape to add the title to the page using properties to change the background color and add icons based on your requirement.
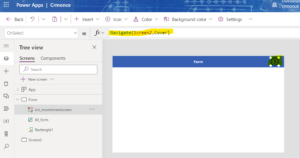
Add the next arrow icon at the top of the page for the second screen to view the details.
Once the design has been completed, we have added the function to navigate to the next screen.
Choose the second screen to add the gallery and icon control from the Insert tab.
Add the navigation function to add a user icon like the above navigate function expression
Then create the table to store the data, then design the custom form.
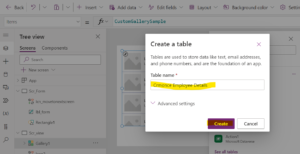
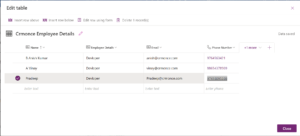
Once the table has been created successfully, it will display all the default columns, we can modify the columns based on our project requirements.
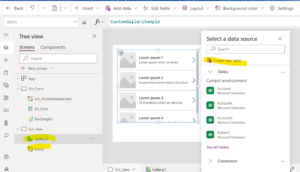
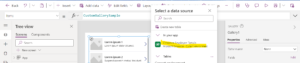
Click on the Datasource to add data from the (Crmonce Employee details) table.
Once the form was created, click on form1 and go to properties. Choose the Default mode on New.
Then insert the save Icon and write the function for saving the form data in the table.
Update the expression in the icon OnSelect mode “SubmitForm(Form1)”.
Click save and publish.
Run the application. The output page seems like the below screenshot.

For Any Help or Queries Contact us on +918096556344 or info@crmonce.com