
Step-2:Navigate to the Content Settings:
Navigate to the email area of Real-time Marketing and create a new email.
Step-3:Create an Email Template:
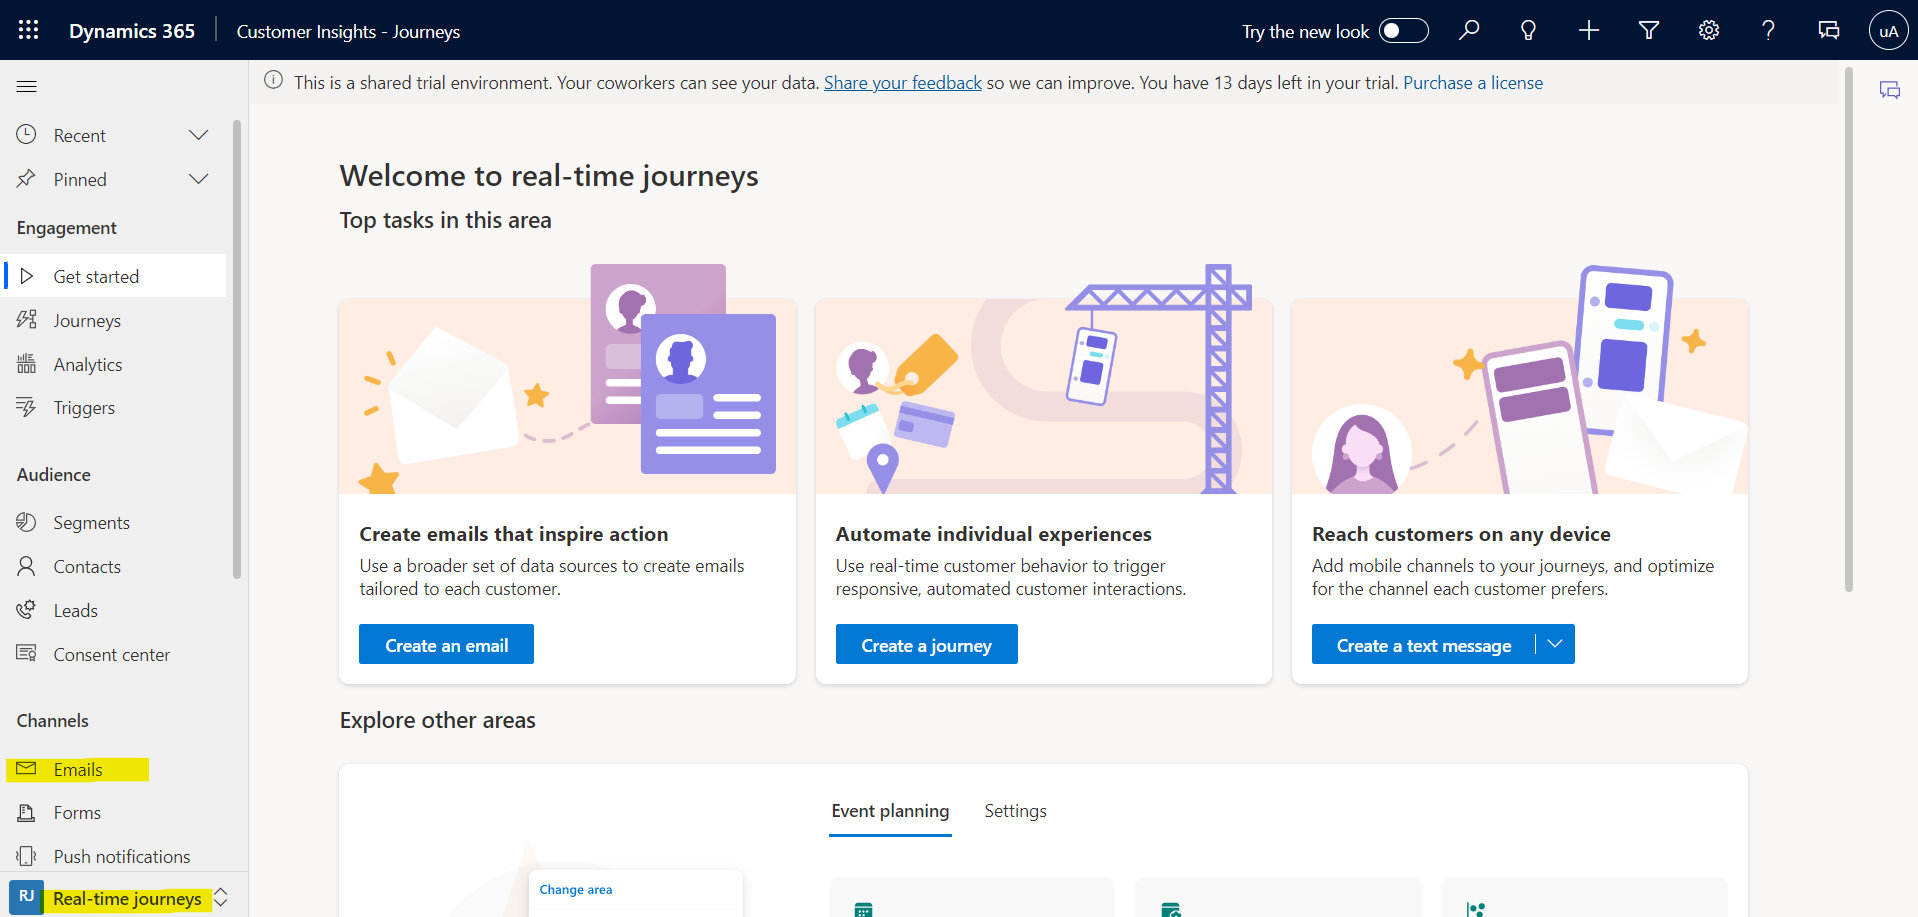
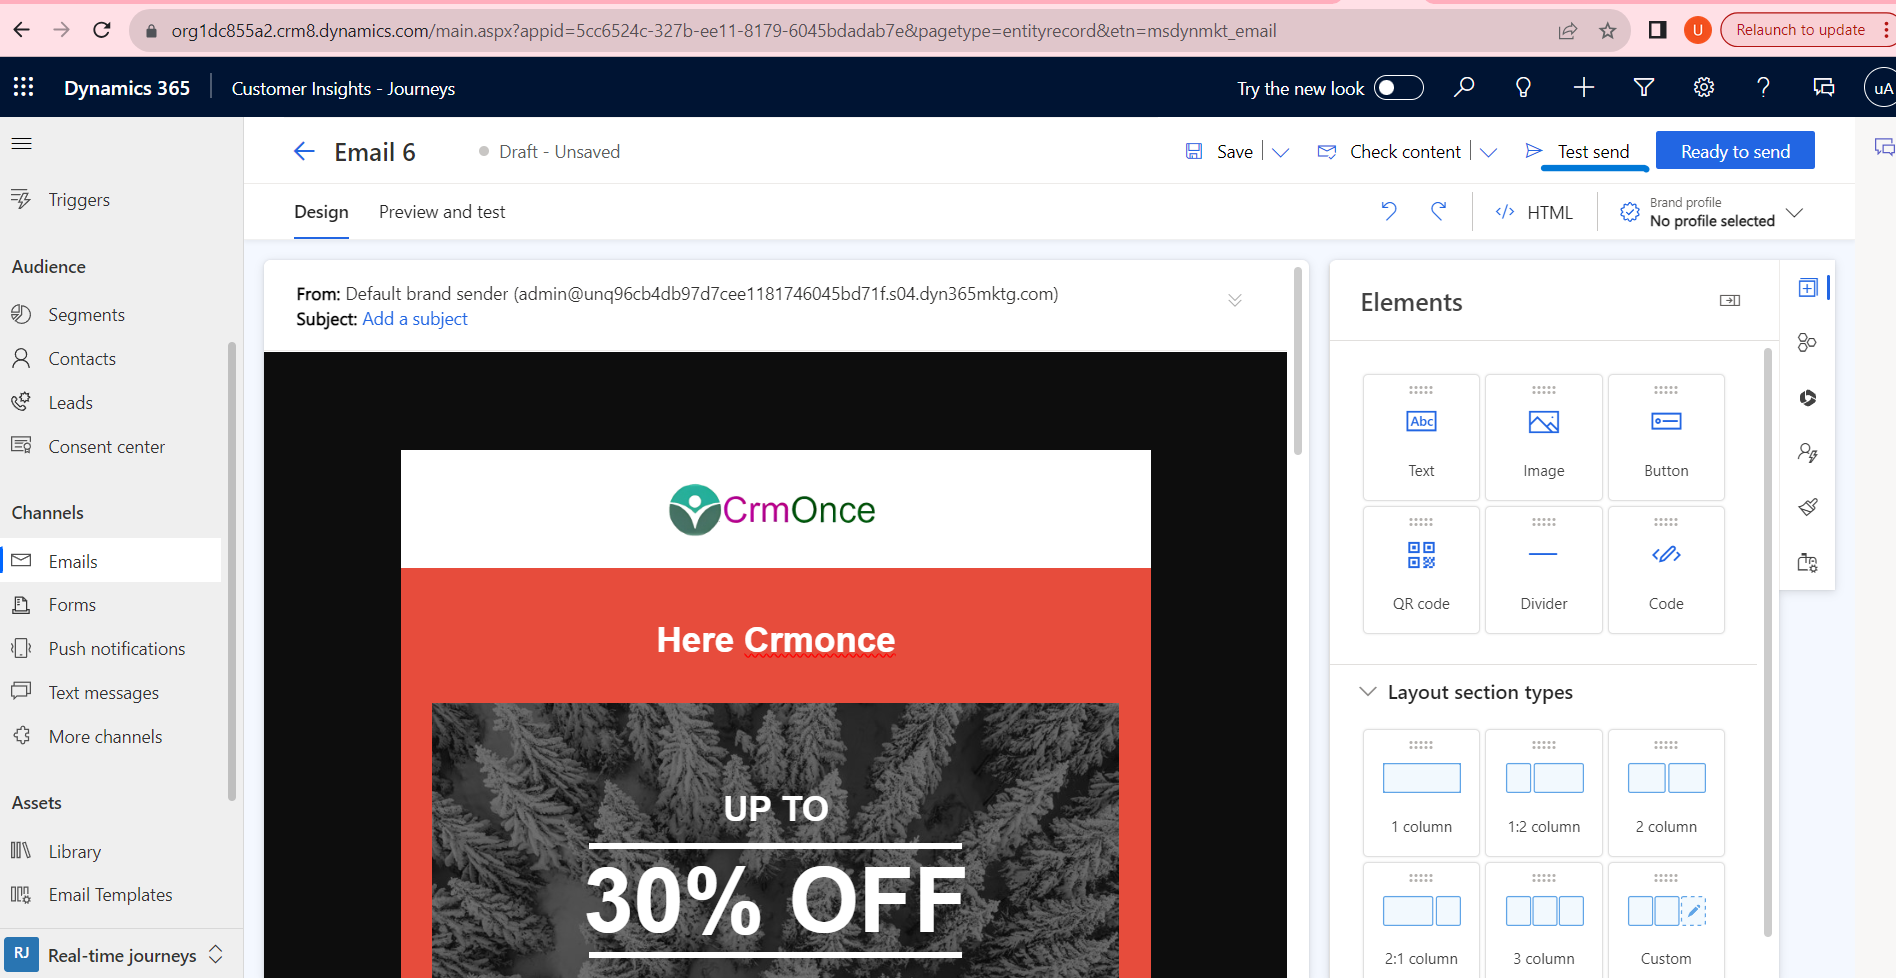
- Select “Email” by clicking on left navigation pane.
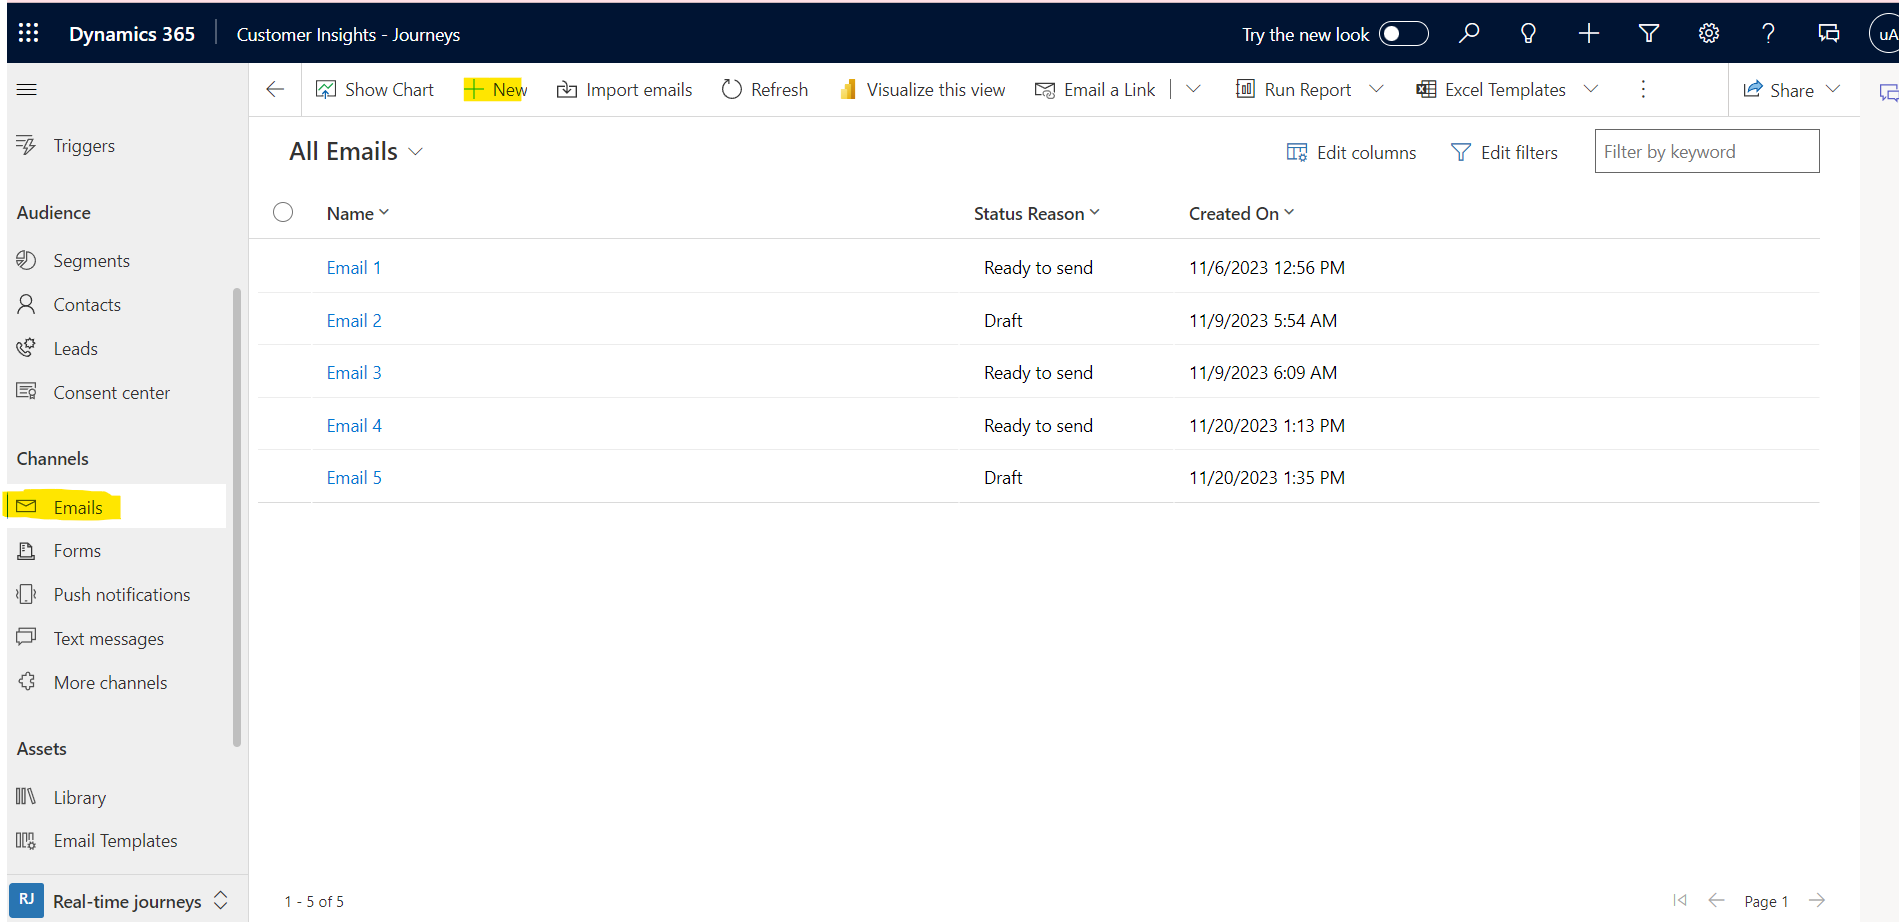
- To create a new email template, click the +New button.
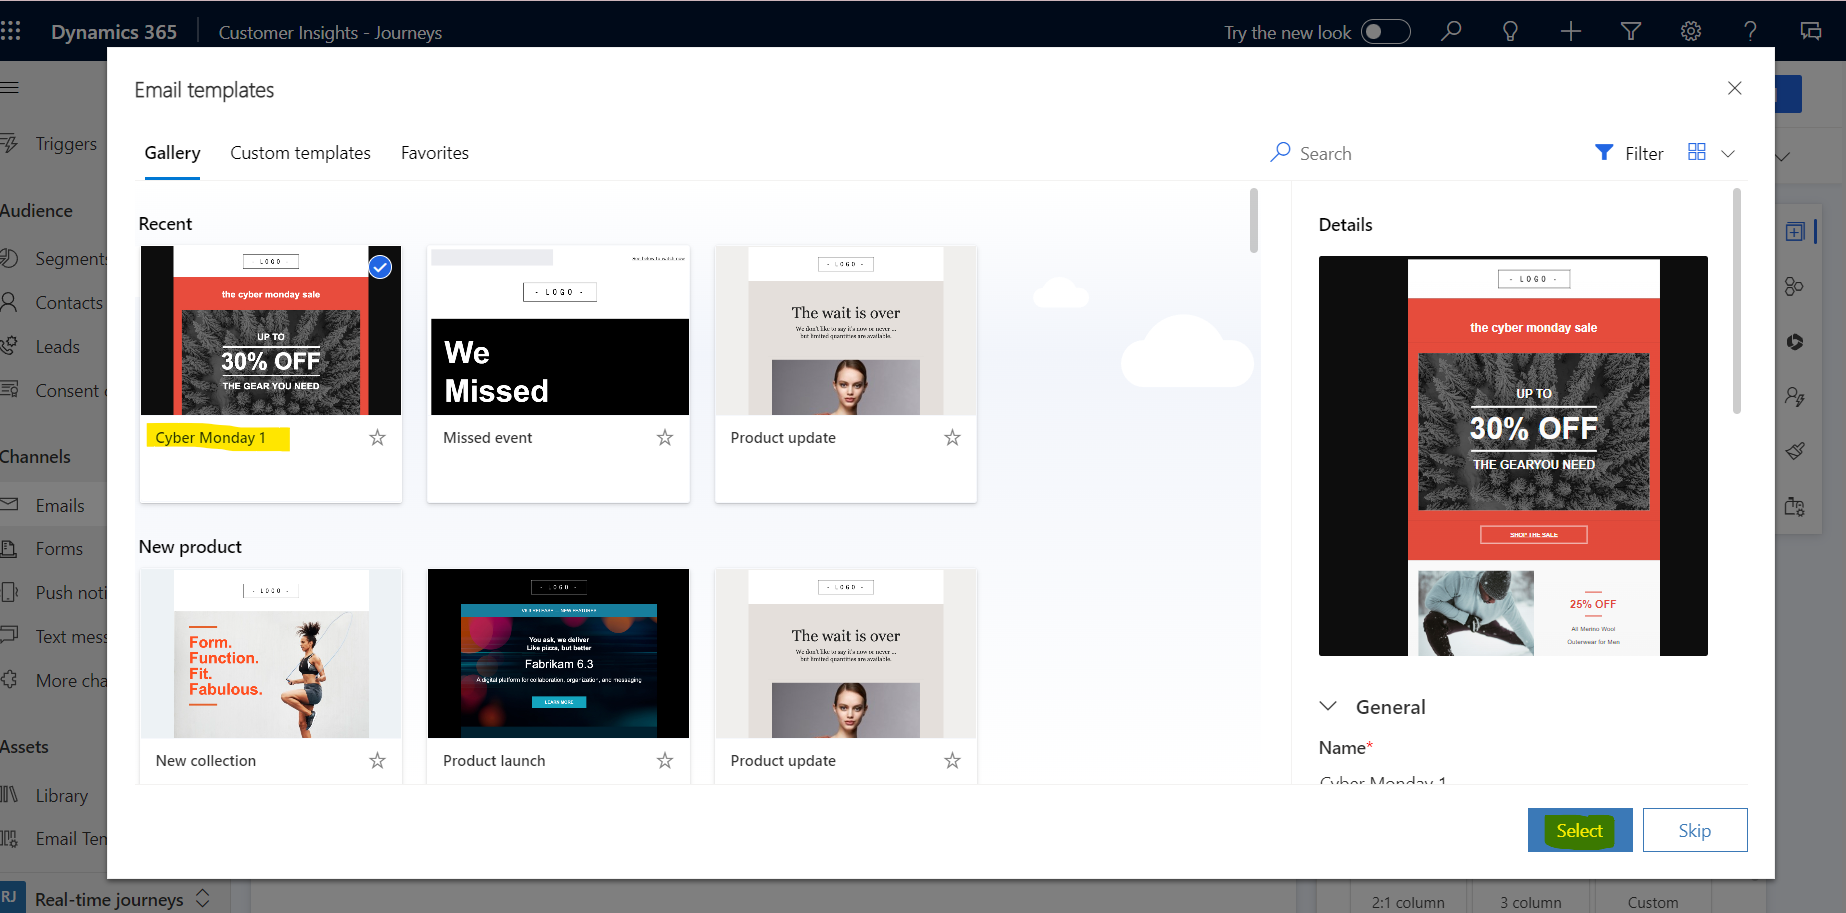
- Next, Select template depending upon your requirement then click on select button.
Step-4:Design the Email template depend upon your requirement
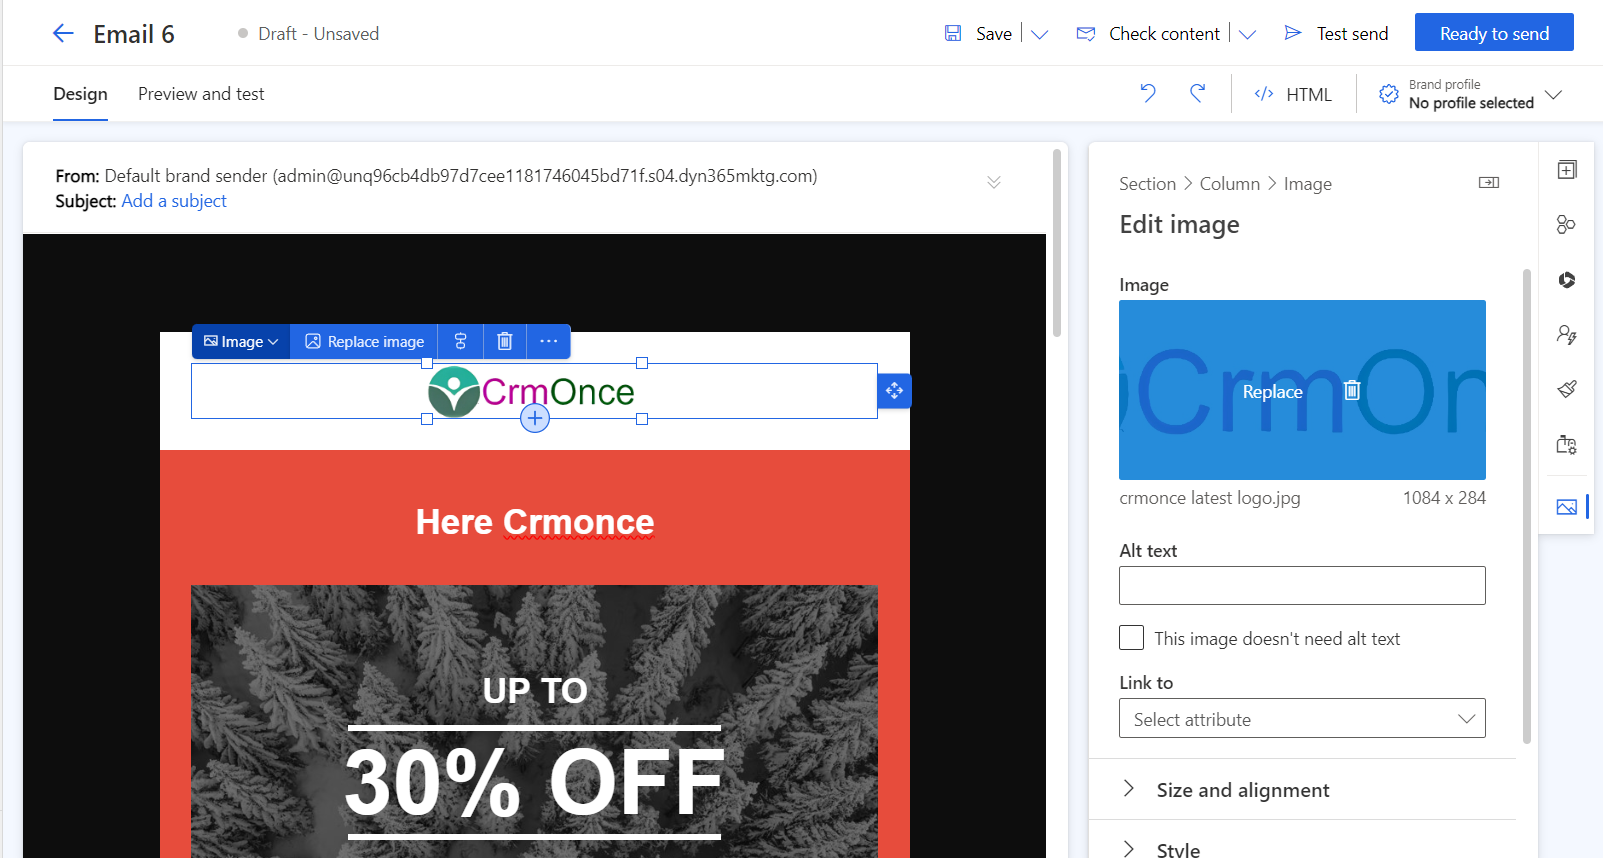
After choosing a template, you’ll notice that the email is neatly organised and ready for you to add text and edit the photos to fit your style.

You can change the image to something from your asset library by clicking on the Logo or Image in the middle of the email, as you can see on the right-hand side.
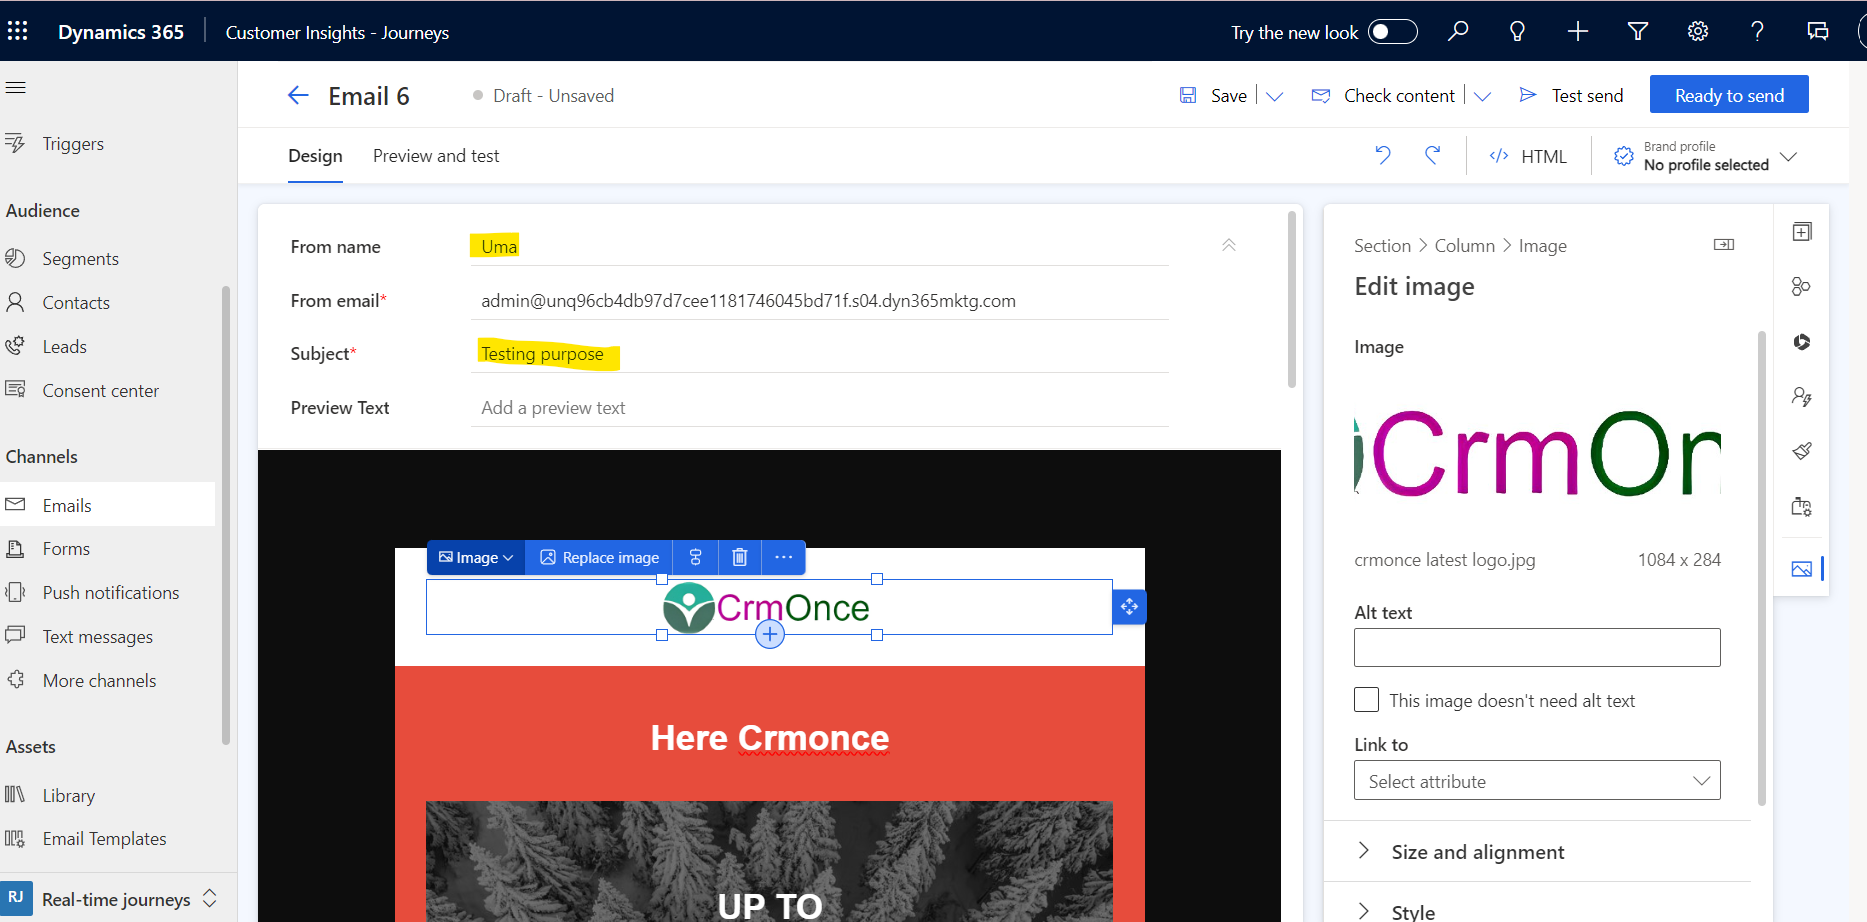
Complete the email’s editing to make it look the way you want. Remember to include a nice Subject line and a descriptive email name so you can locate it in the list later.
Complete the email’s editing to make it appear as you desire. Please ensure that the email has a clear and descriptive subject line and name so that you can locate it in the list later. Hopefully, it will resemble this.
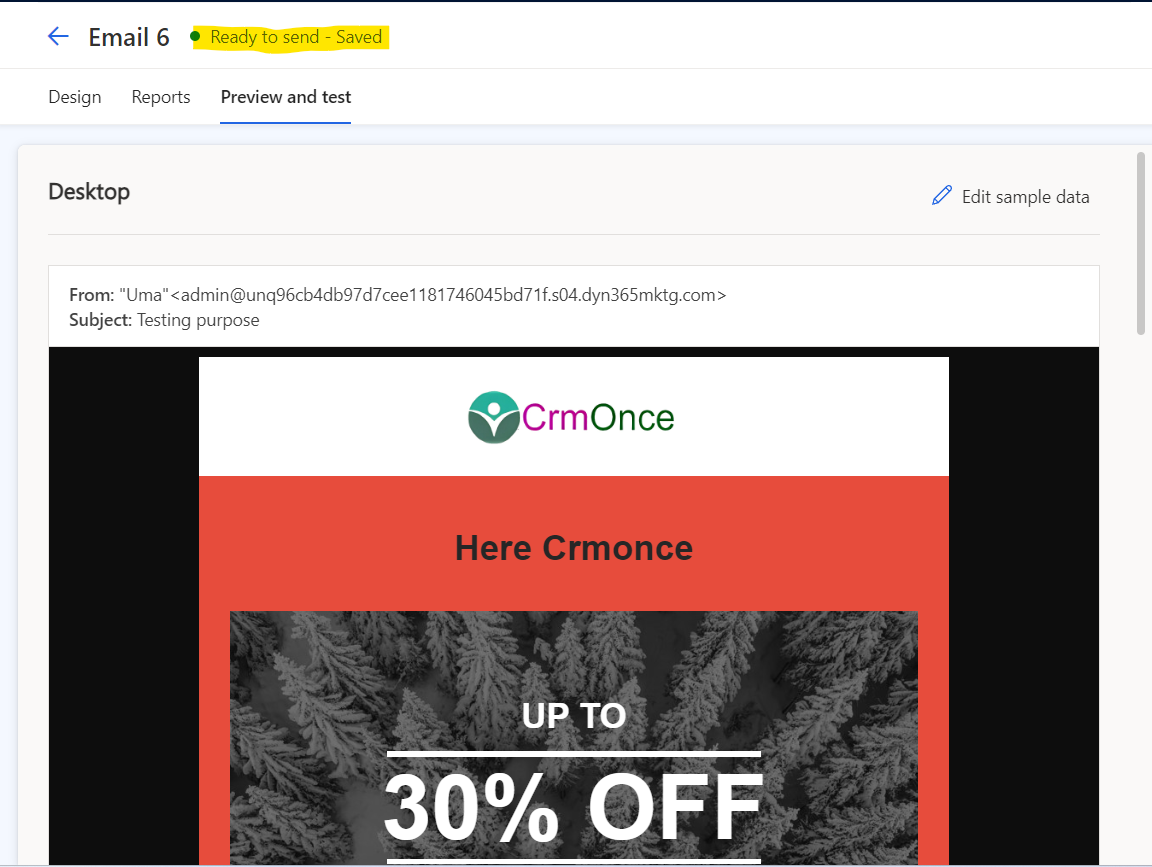
Next preview and test your template in [Desktop, Tablet and mobile view]. Then save your template.
Next click on Test send
Next Enter your Email Id for receiving your Email template.

Next click on “test send”.
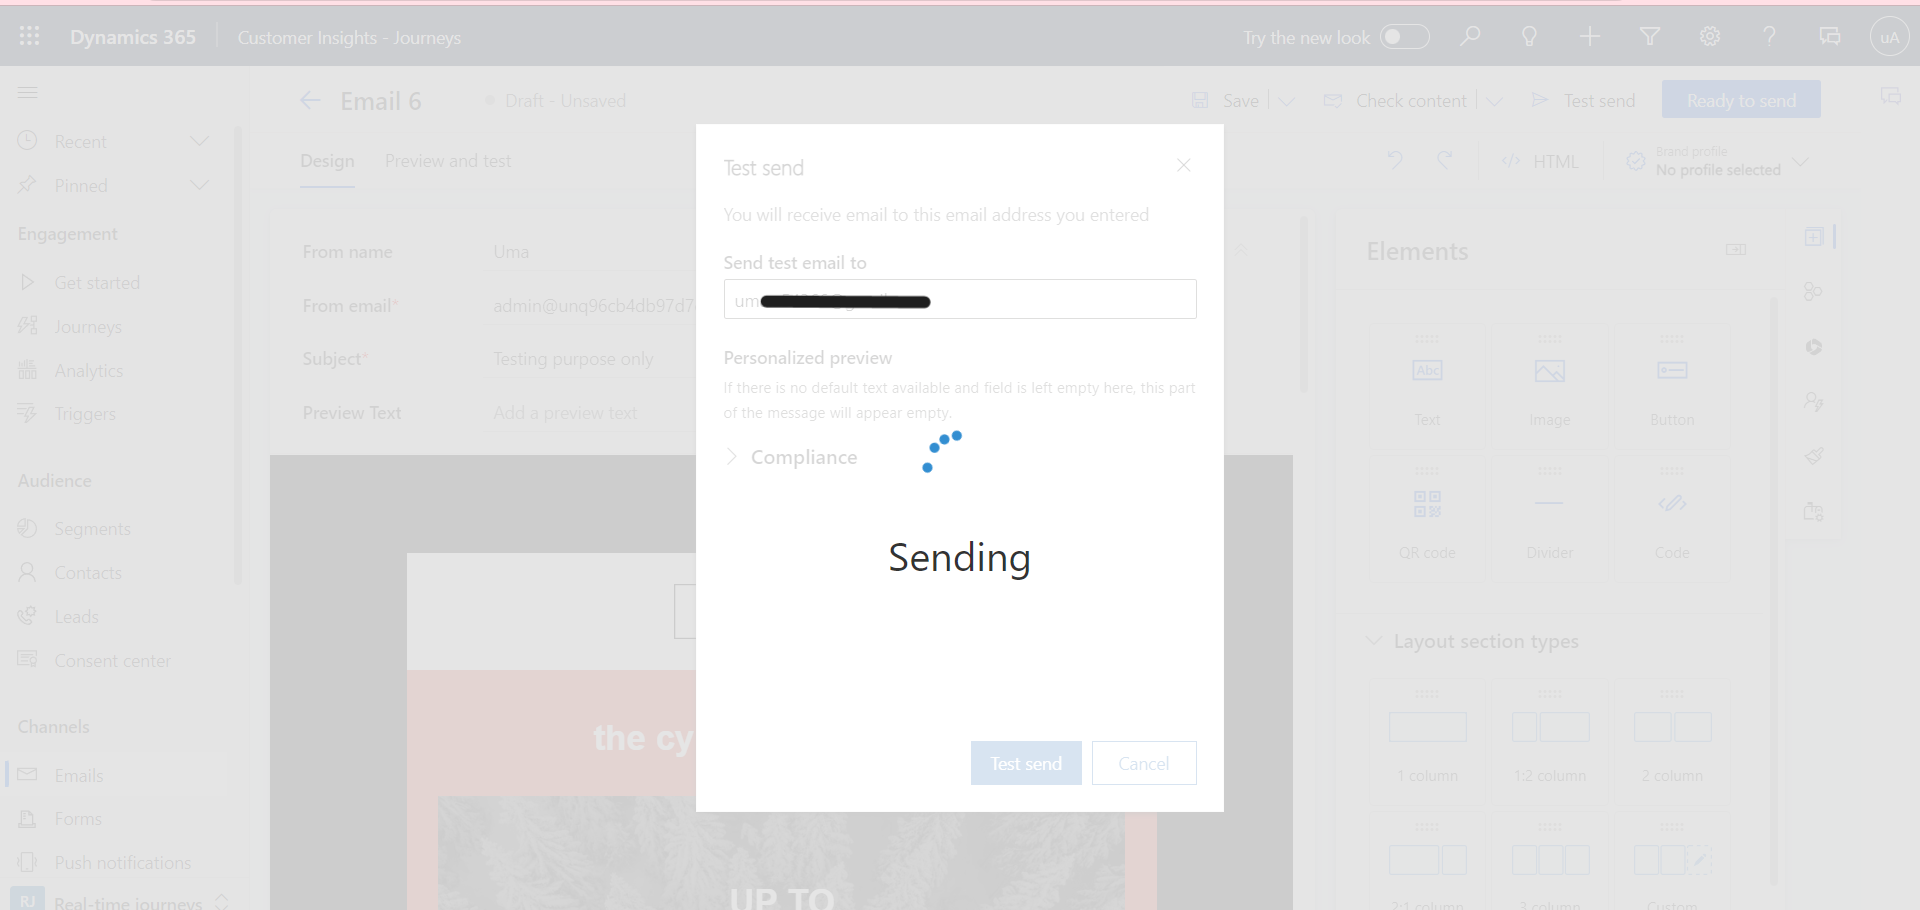
Now It is sending to your “Mail”.
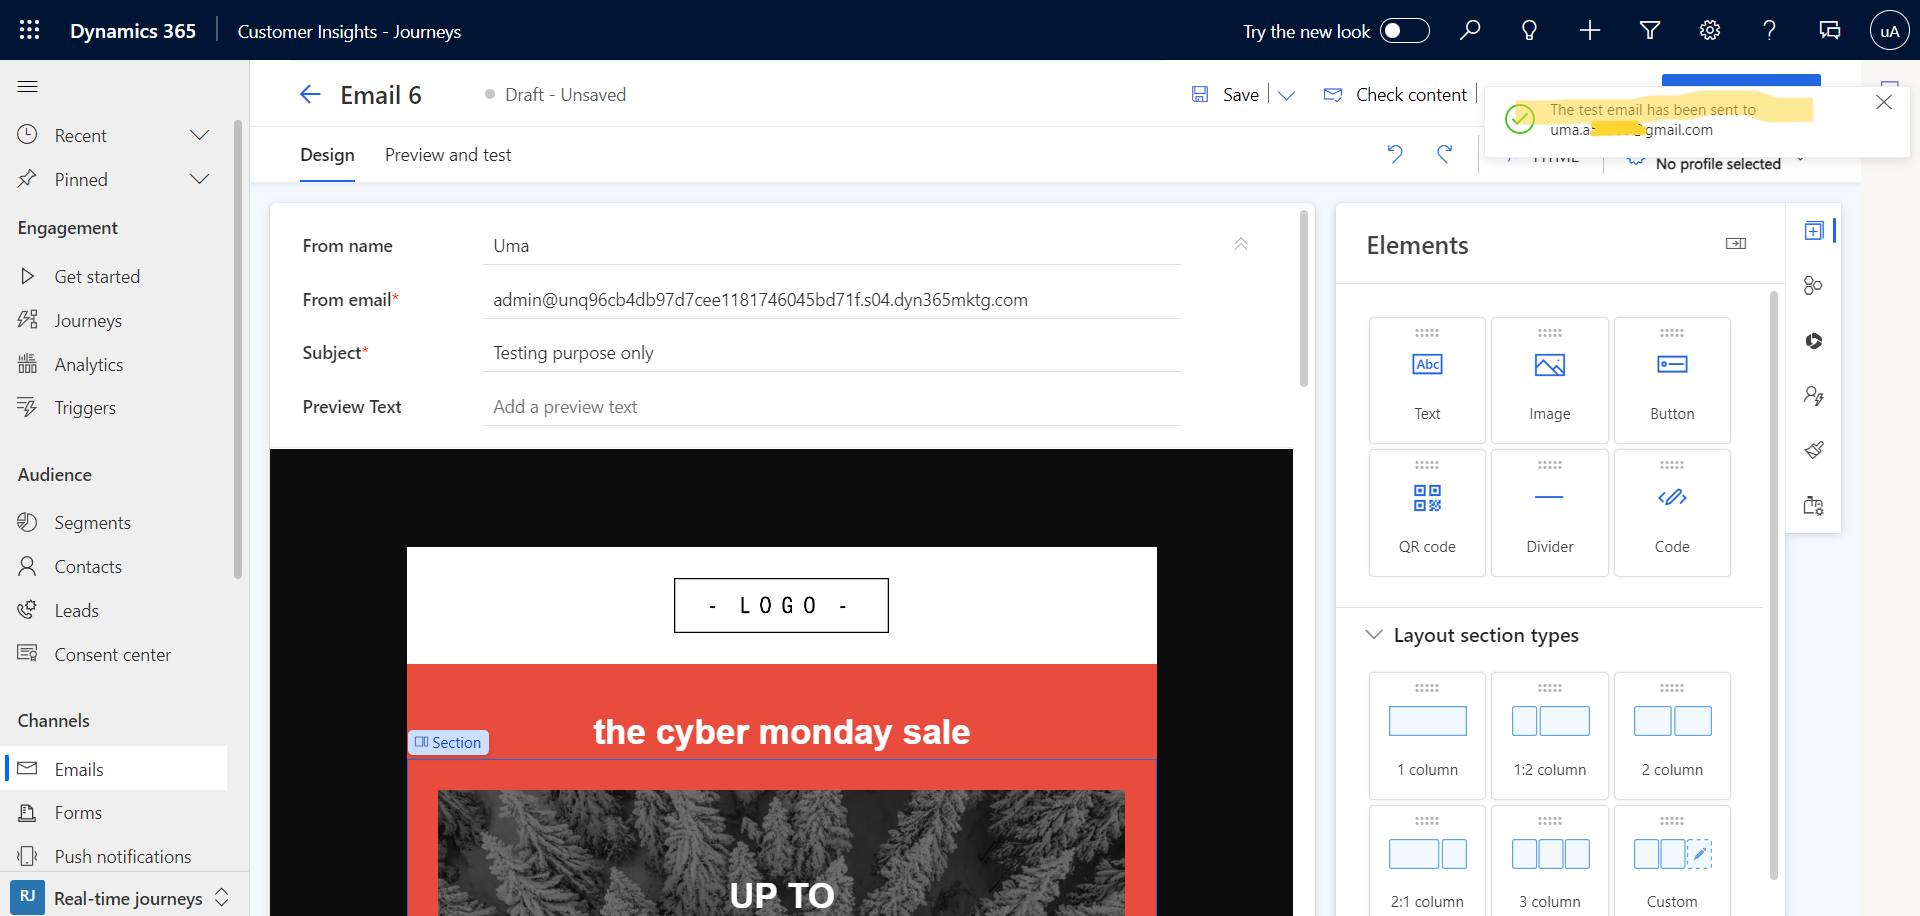
Finally it is sending to your mail. once check on your mail it will appear.
