Create a Canvas App Add Gallery, Dropdown, Connect Table
Login to office.com and click on Power Apps icon or directly open make.powerapps.com and use correct environment. Click Create option and choose +Create. Select Canvas App from Blank option and give a name of the App. Now click OK. Now it will open the Canvas App designer with blank canvas.
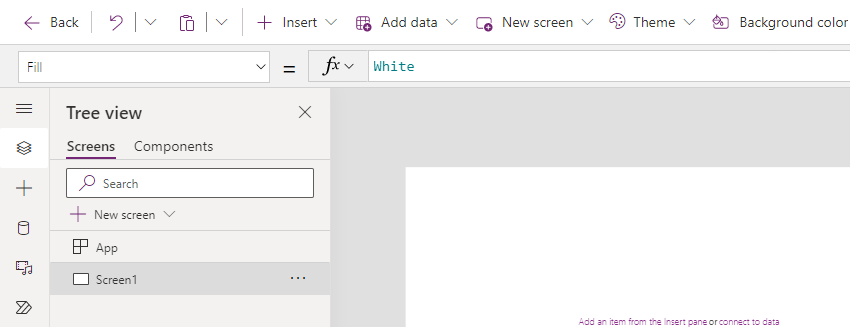
Now add a rectangle and a text label for app header and resize the rectangle and update the Text property. Also add a gallery control from Insert panel and add a drop down control from the Insert panel.
Our requirement is The gallery should display Asset List table from Sharepoint and the dropdown will display the Brand information and user can filter by Brand and the gallery will be updated.
Now Select the gallery and connect the Data source to Contact table. After this the gallery will populate data and the Data source property assigned as Asset list. Now you can run the app to see if the gallery shows all Asset List.

if you run it then the dropdown field will show some duplicate values and also some blank values to resolve this issue go to Items property of dropdown control and mention the Power FX given below.
Distinct(‘Asset List’,Brand)
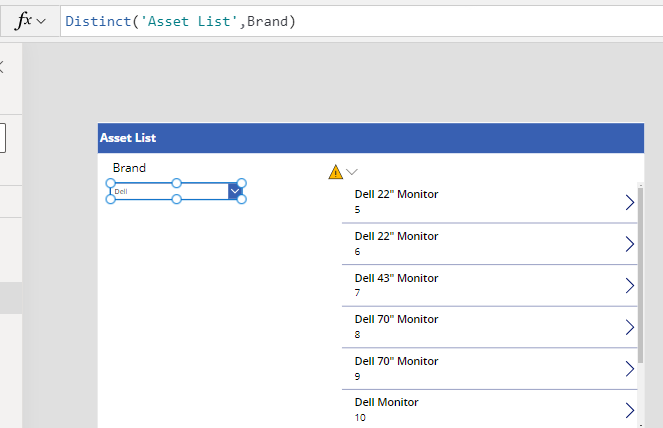
Now the dropdown will populate the distinct values as Brand
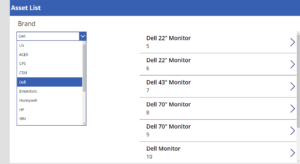
Now to filter the gallery, go to Items property of the gallery and update the Power FX as below
Filter(‘Asset List’,Brand = drp.Selected.Result)
Now if you test the gallery will filter as per expcted.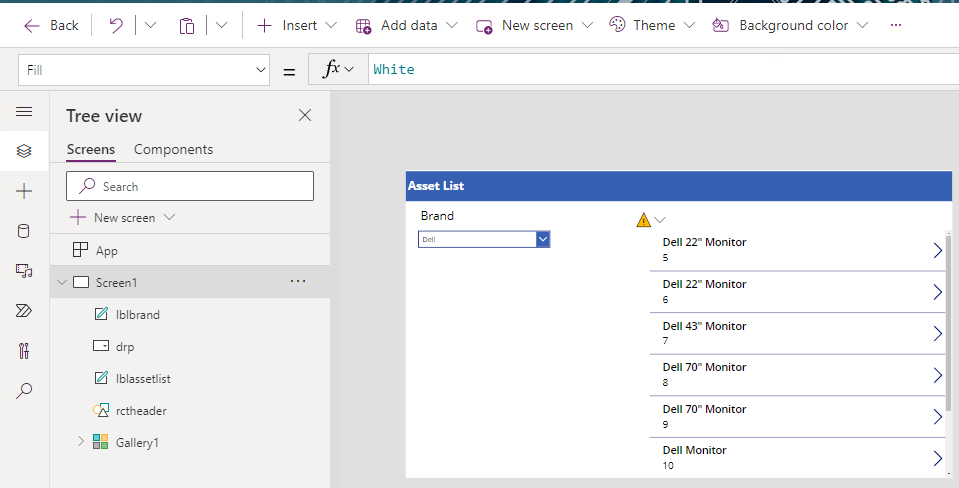
Now if you want to all All option in Dropdown you can use Collection. Go to OnVisible property of screen and mention he below formula Power FX.
ClearCollect(collectBrand,{result:"All"});
Collect(collectBrand,Distinct('Asset List',Brand));
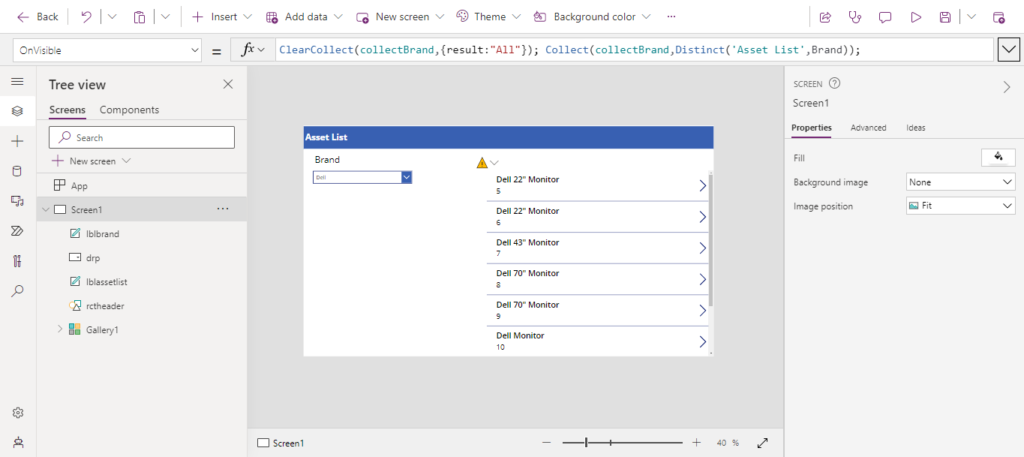
And now go to Items property of the Dropdown and updated the value to collection variable as collectBrand

