
Step 1
Navigate to your SharePoint Site and create SharePoint List.
Step 2
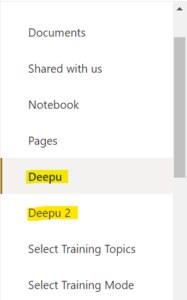
In my case I have created 2 SharePoint Lists, one is Deepu and another Deepu 2
Step 3
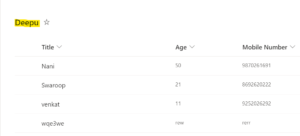
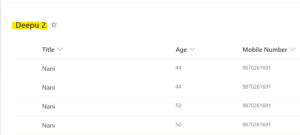
Add records to the Deepu list and Deepu 2 list
Step 4
Now open Microsoft Word Document
Step 5
Once Microsoft Word opens click on Developer in Ribbon Tool Bar

Step 6
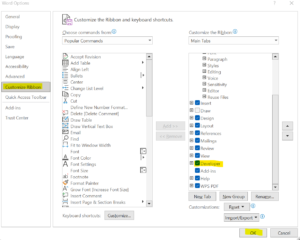
If the Developer is not available then Click File –> Select Options –> Click Customize Ribbon and Select Developer –> and Click OK
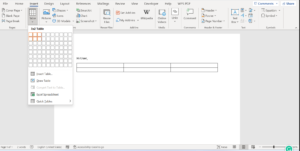
Step 7
Once done click Insert and Select Table
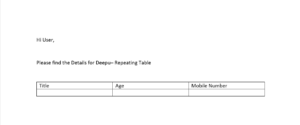
Step 8
Now input the Name in the First Column
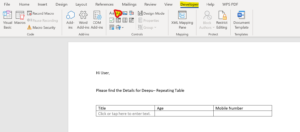
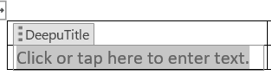
Step 9
Now select the ID then Click On Developer Ribbon Tab at the TOP then select Plain Text Content Controller
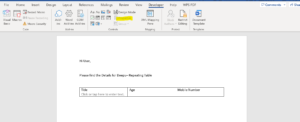
Step 10
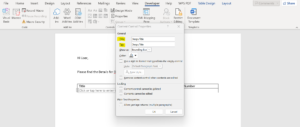
Once done select the Title Column then click Properties
Step 11
After clicking Properties it will open Popup, enter Title and Tag
Step 12
Once done, do the same for other Column as Well
Step 13
Once done, now we are ready to add a Repeating Content Controller for the Table so that it will display all the values from the List
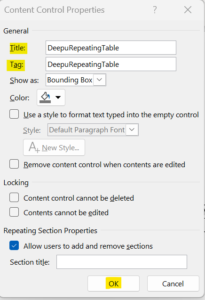
Step 14
Now click on Properties and provide the Tag and Title for Repeating Table
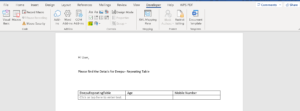
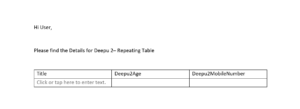
Step 15
In the same way create a new Table for Deepu 2 and add the Title , Age and Mobile Number
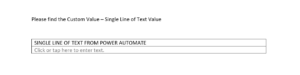
Step 16
Now am adding a single line of Text Value as well–> Simply add a single line of Text
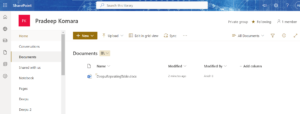
Step 17
Once done save the file in your SharePoint Site
Once after Record gets created navigate to https://make.powerautomate.com
Step 18
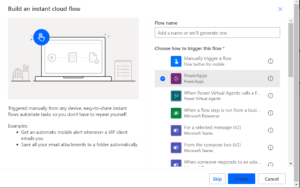
Click Apps –> Select New Flow –> Select Instant Cloud Flow and Input the name as (Generate Word Template Using Power Automate) and click Create.
Step 19
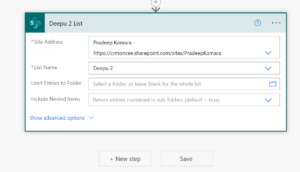
Now click Add Step, select SharePoint and search for Get Items and add the SharePoint Site and select List Name

Step 20
Now add Get Items Again and get the Deepu 2 List
Step 21
Once done click add step and search for SELECT

Step 22
Now select the Respective Values then please make sure the DEEPUTITLE, DEEPUAGE, and DEEPUMOBILENUMBER As like Properties that we have created in step 11
Step 23
Now select Add Steps –> Search for Word then Select POPULATE A MICROSOFT Pradeep Komara then select the Locations

Step 24
Now for Populating REPEATING TABLE click the HIGHLIGHTED BUTTON and select the OUTPUT Values from Point 21.
Step 25
Now add some Custom Values in a single line of Text.
Step 26
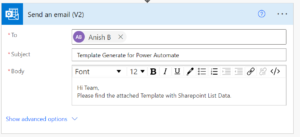
Now send an Email
That’s it 🙂
Now we are good to start the Process
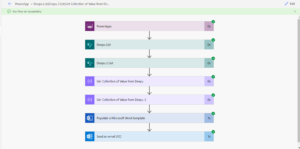
Now the Flow is created successfully.