How To Hide And Show Field Based On Another Field Value?
This section will teach us how to hide and show field values using data from other fields.
We must log in to Dynamics 365 and go to Settings — Solutions to accomplish this.
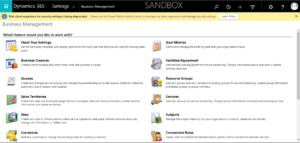
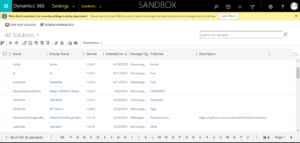
Choose any solution you have developed, and either create an entity of your choosing or use one that already exists.
Well, as you can see in the example below, I generated one Entity with Name Hiding Field .
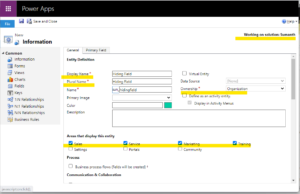
Create some fields for the above-mentioned Entity which satisfy our requirements.
I made three (3) fields, Field1 and Field3 with a single line of text and Field2 with Two option set as shown below.
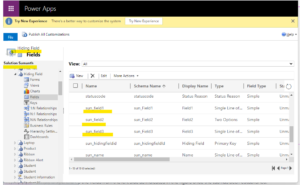
Fields must be added to the Form once they have been created.
To add newly made fields, go to the form’s insert tab on the main form.
Simply drag and drop the fields from the left side as indicated in the figure once the tab has been established.
change the Tab Name to Hiding Field.
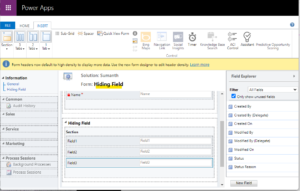
Once the form has been saved and published, field drag-and-drop work is complete.
To begin writing JavaScript, visit the web resource and choose the new web resource named Hiding Field.
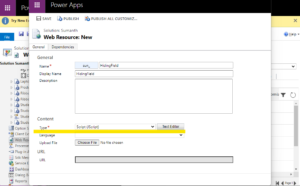
In the Text Editor, pick JavaScript as the Script Type and the JavaScript Code.
The following JavaScript code is displayed.
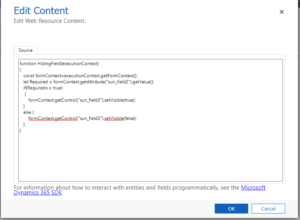
Save and publish the JavaScript code once it has been completed.
Go to forms and choose form properties right now.
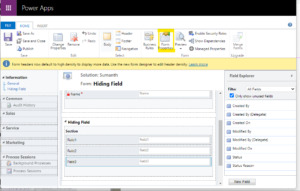
Add event handlers with the controlled field after adding form libraries with the Java Script file name, as shown below.
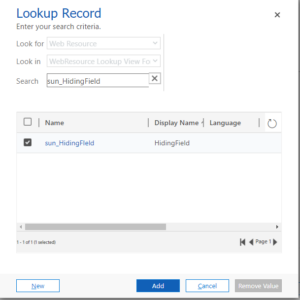
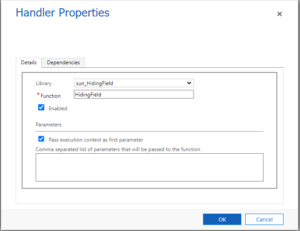
after making any necessary changes, save and republish the form.
The last step is to access model-driven apps, choose an entity, and view the outcomes.which is displayed below.

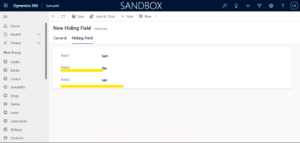
The Field3 is visible in the image above because Field2 is set to Yes; however, if you choose No, it will disappear as seen in the image below.
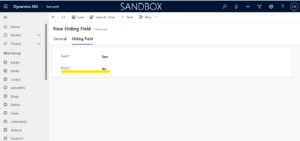
By employing different fields, we may use this method to hide and show the fields as appropriate.
For any Help or Queries Contact us on info@crmonce.com or +918096556344.

