In this Power Automate tutorial, we will see how to restore removed files in SharePoint with Power Automate or Microsoft Flow. And also we will discuss how to restore all removed Files in Sharepoint with Power Automate or Microsoft Flow.
So, we will create a flow that will restore the removed file from Recycle bin in SharePoint with Power Automate.
Step 1: Create a Flow in Power Automate
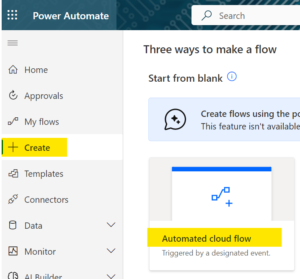
To create a Flow, log in to Power Automate, then click on Create and select Automated Cloud Flow.
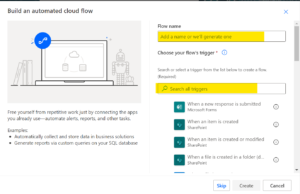
Now provide the Flow name or Skip and select the trigger ‘When a file is deleted‘ action. Then click on create
Step 2: When a file is deleted
In this step provide the site address and library name from which you want to delete a file in SharePoint.

Step 3: Retrieve a file from Recycle bin in SharePoint
Now we will send an HTTP request to get a file from the recycle bin, that we will restore later. So click on the Next step and send an HTTP request to SharePoint action.
Then Provide the site address and Method as Get from the dropdown. Then Uri field provide the below API
_api/site/Recyclebin

Step 4: Filter the file that gets deleted
In this step, we will filter the item that gets deleted from the list item. So click on the Next step and select Filter array action. Then provide From write the below expression
body(‘Send_an_HTTP_request_to_SharePoint’)?[‘body’][‘d’][‘results’]
Next, click on the Show Advanced option and write the below expression to check deleted file title is equal to Filename with the extension of a file in recycle bin
@equals(item()[‘Title’], triggerOutputs()?[‘body/FileNameWithExtension’])

Step 5: Parse JSON
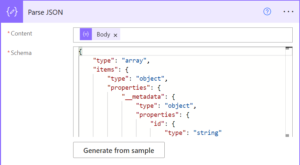
In this step, we will use the parse JSON action that will return JSON, from this we will use the id of the file to restore.
So click on the Next step and select Parse JSON action, then provide body in the From field from the dynamic content, and in schema click on Generate from Sample, then provide the body of the filter array from the above step and generate the schema in the parse JSON.
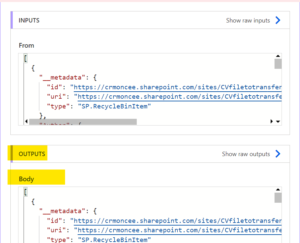
Step 6: Restore the File
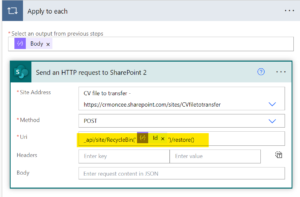
Now we will send an HTTP request to restore the file, so Apply to each click on the Next step and select Send an HTTP request to SharePoint action. Then provide the site address and select method ad Post.
Now in Uri provide the below endpoint API and provide the item id like below, which will automatically add Apply to each action.
Step 7: Run the Flow
Now click on Save and to run the flow delete a file from the SharePoint Library. So I have deleted the file


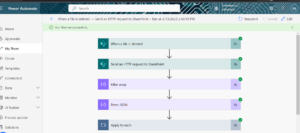
Now you can see flow ran successfully.
For any Help or Queries Contact us on info@crmonce.com or +918096556344

