Power Apps Portal:
A Power Apps Portal is a web portal platform that allows organizations to create and deploy websites and applications that can be accessed by external audiences. It’s part of the Microsoft Power Platform, which also includes Power Automate, Power BI, and Power Virtual Agents.
We can follow these steps to create a cancel button adding on power portals web page
Steps:
- Go to power apps then navigate the option create in blank app select create in power pages
- Create your own website and web template like this
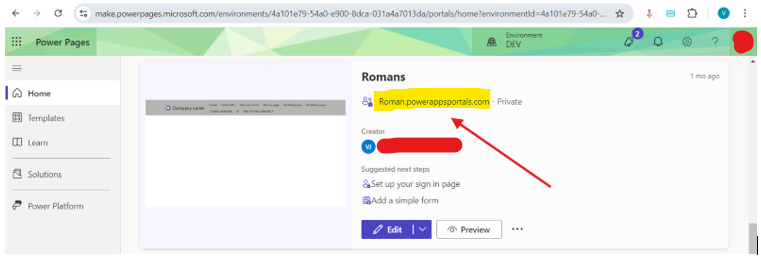
3.Then open your Web template click preview
4.Then any changes click on Edit button it will be open like this
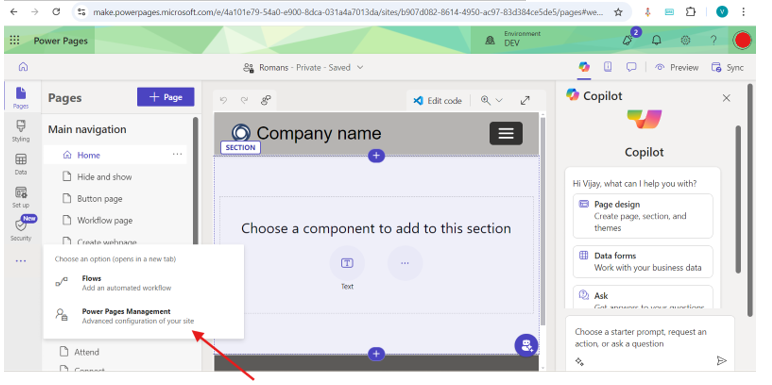
- you can click power pages management it will be open like this
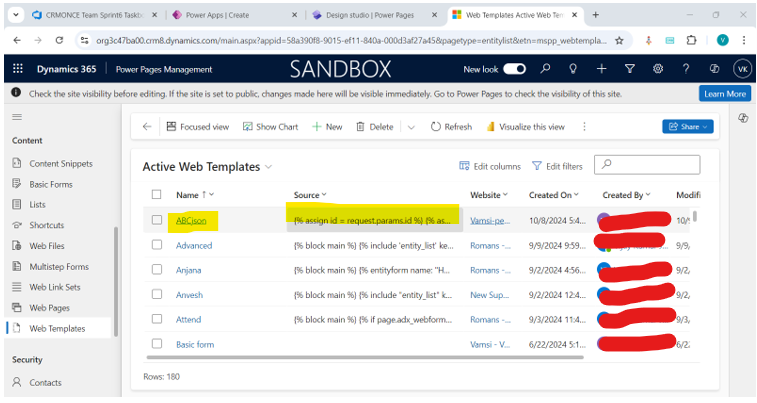
6.Create a new web template, page template, web page
7.Create a new basic form in insert mode and add table, form.
8.In web page select advance option write a jQuery code in content page also like this
jQuery Code: –
$(‘#InsertButton’).after(‘<input type=”button” value=”Cancel” onclick=”javascript:clearIsDirty();disableButtons();window.location.reload();” id=”CancelButton” class=”btn btn-primary”/>’);
9.In web template write a source like this
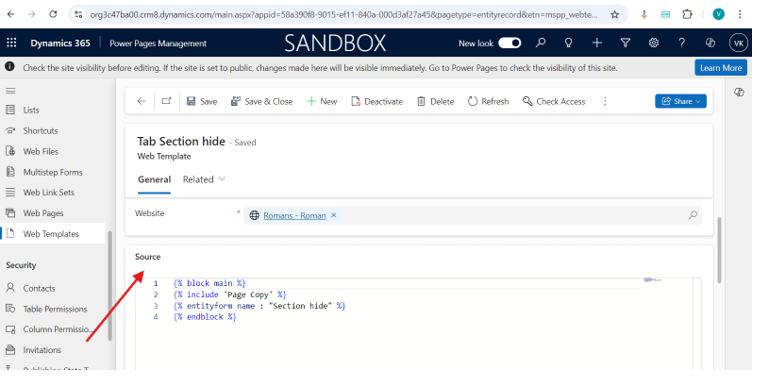
- Then sync and reload the page you will get your web page
11. Then give table permissions then save
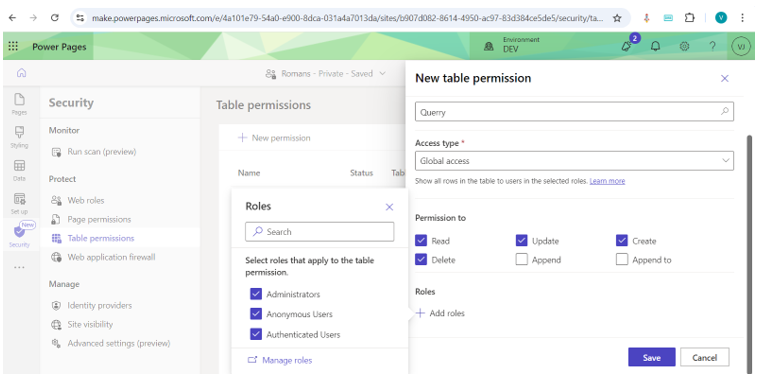
- After that select web page sync the all customizations wait some time syncing the data
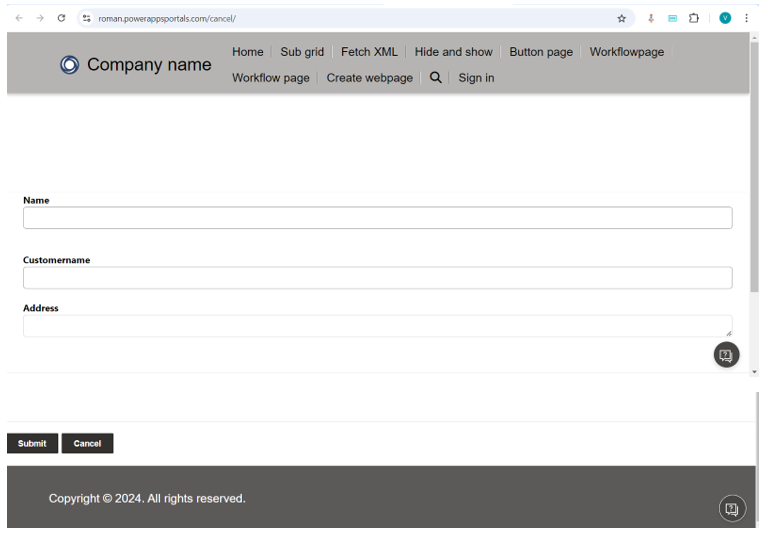
13.Then preview desktop open the webpage like this below image
- If we enter the data and click the cancel button it will be reload the page again
For any Help or Queries Contact us on info@crmonce.com or +91 8096556344
https://www.crmonce.com/field-parameter-in-power-bi-desktop/

