Power apps Portal :
If you want to Add Rating Panel in Power Apps Portal website follow the Below Steps:
Step 1:Open Portal management app.
Step 2:Navigate Webpage, Select the Web Page where you want to enable ratings.
Step 3:Under the “General” tab of the webpage go to the “Page Options” section and update “Enable Rating” to YES.
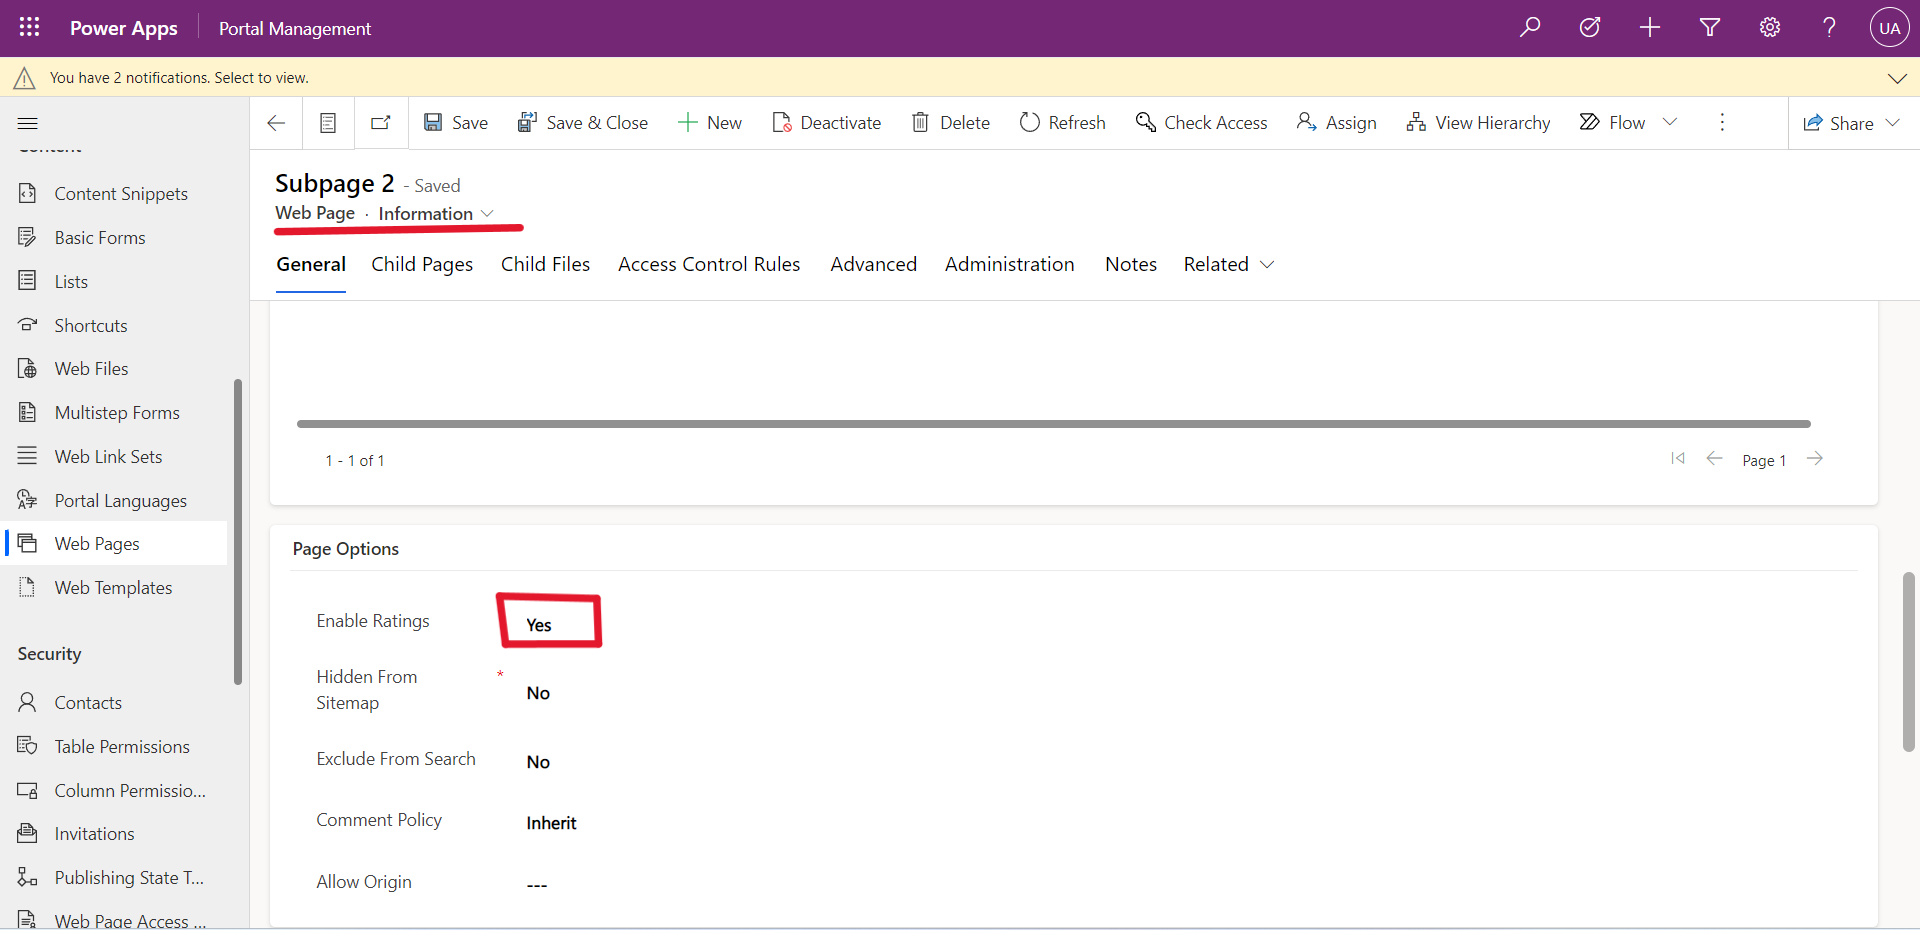
Save the Record.
Note:You must be Update the Localized Content for a Web page and set Enable Ratings to ‘Yes’ .
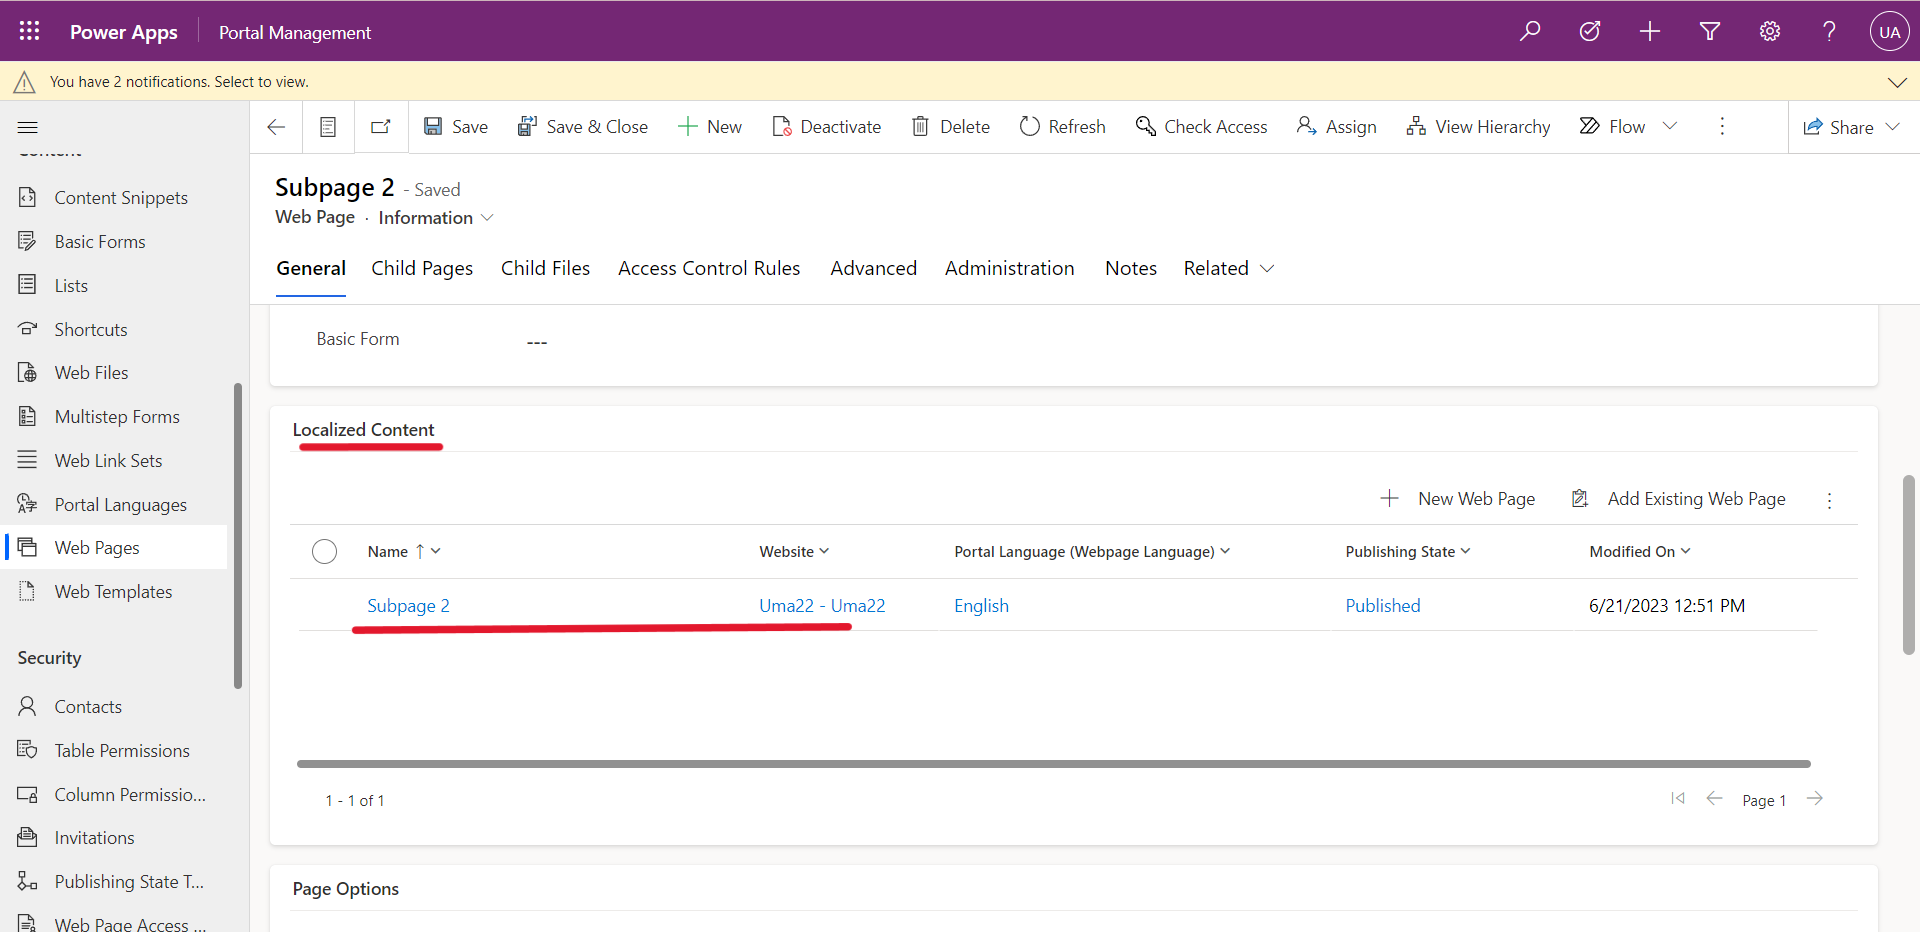
Step 4:Open the Localized Content page, Under the “General” tab go to the “Page Options” section and update “Enable Rating” to YES.

Now Save the webpage.
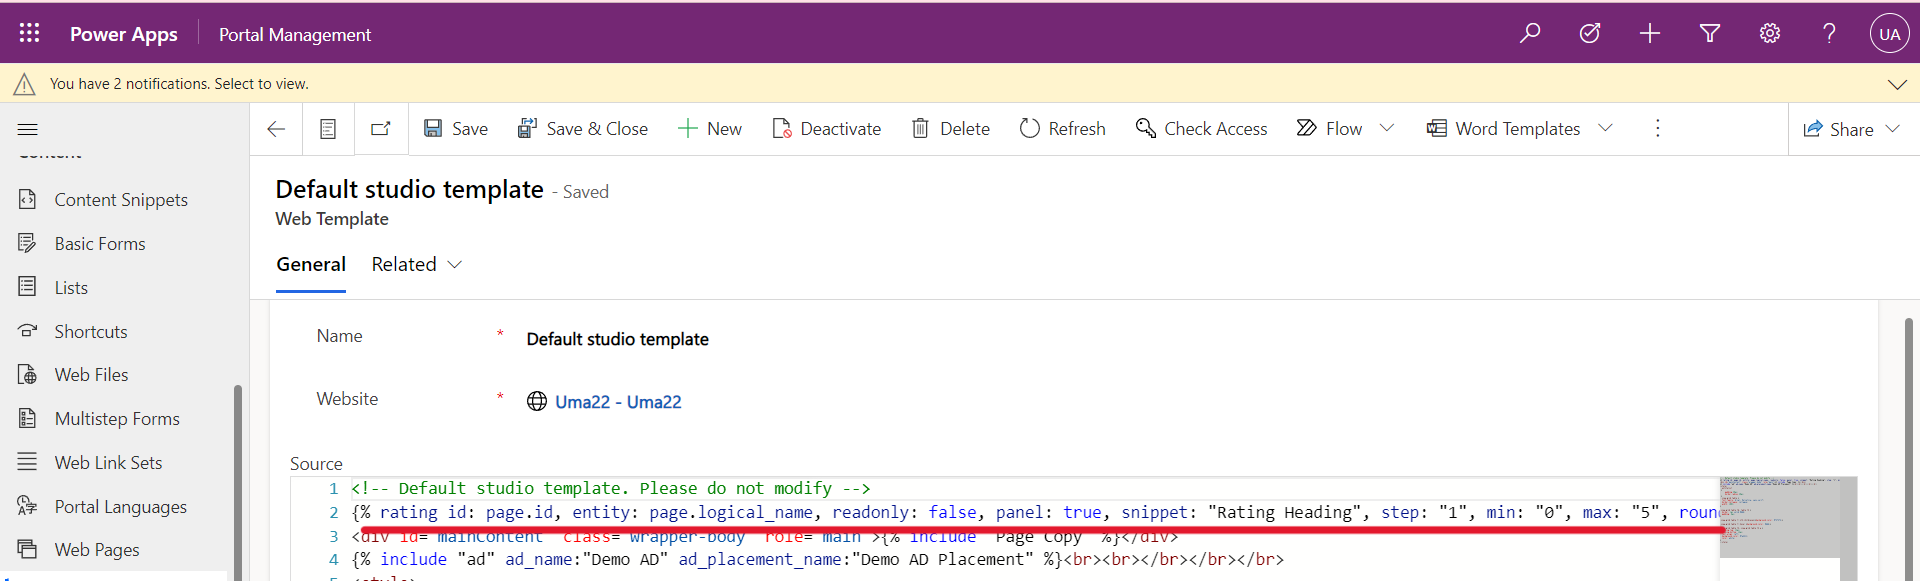
Step 5:Next, Open the Web Template and paste the below code on to your Web template which you are using for the webpage
Or you can also add the below code directly on your webpage.
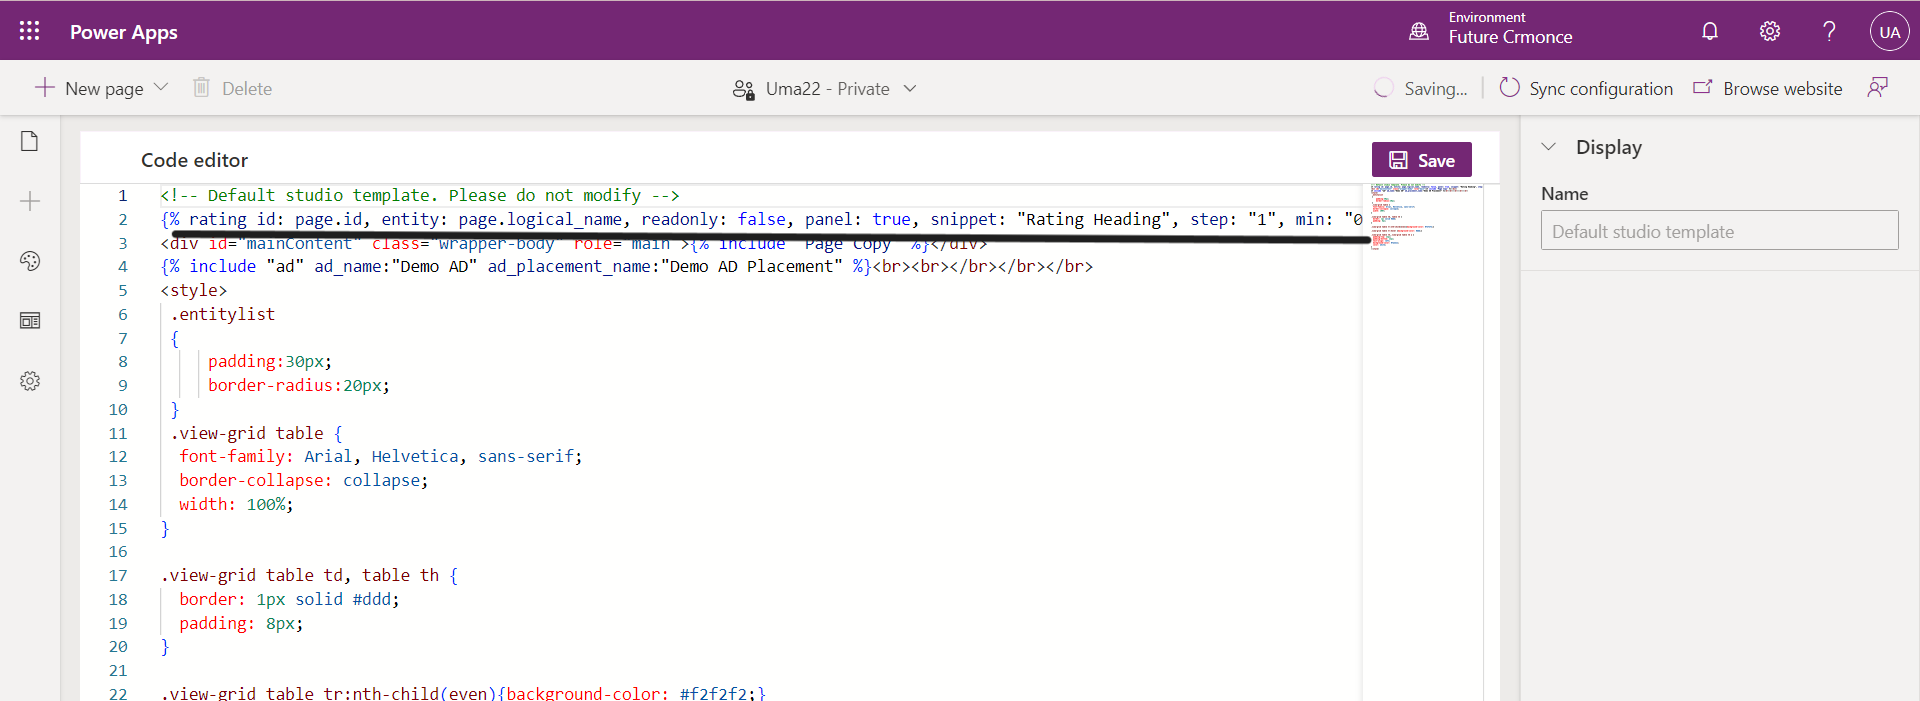
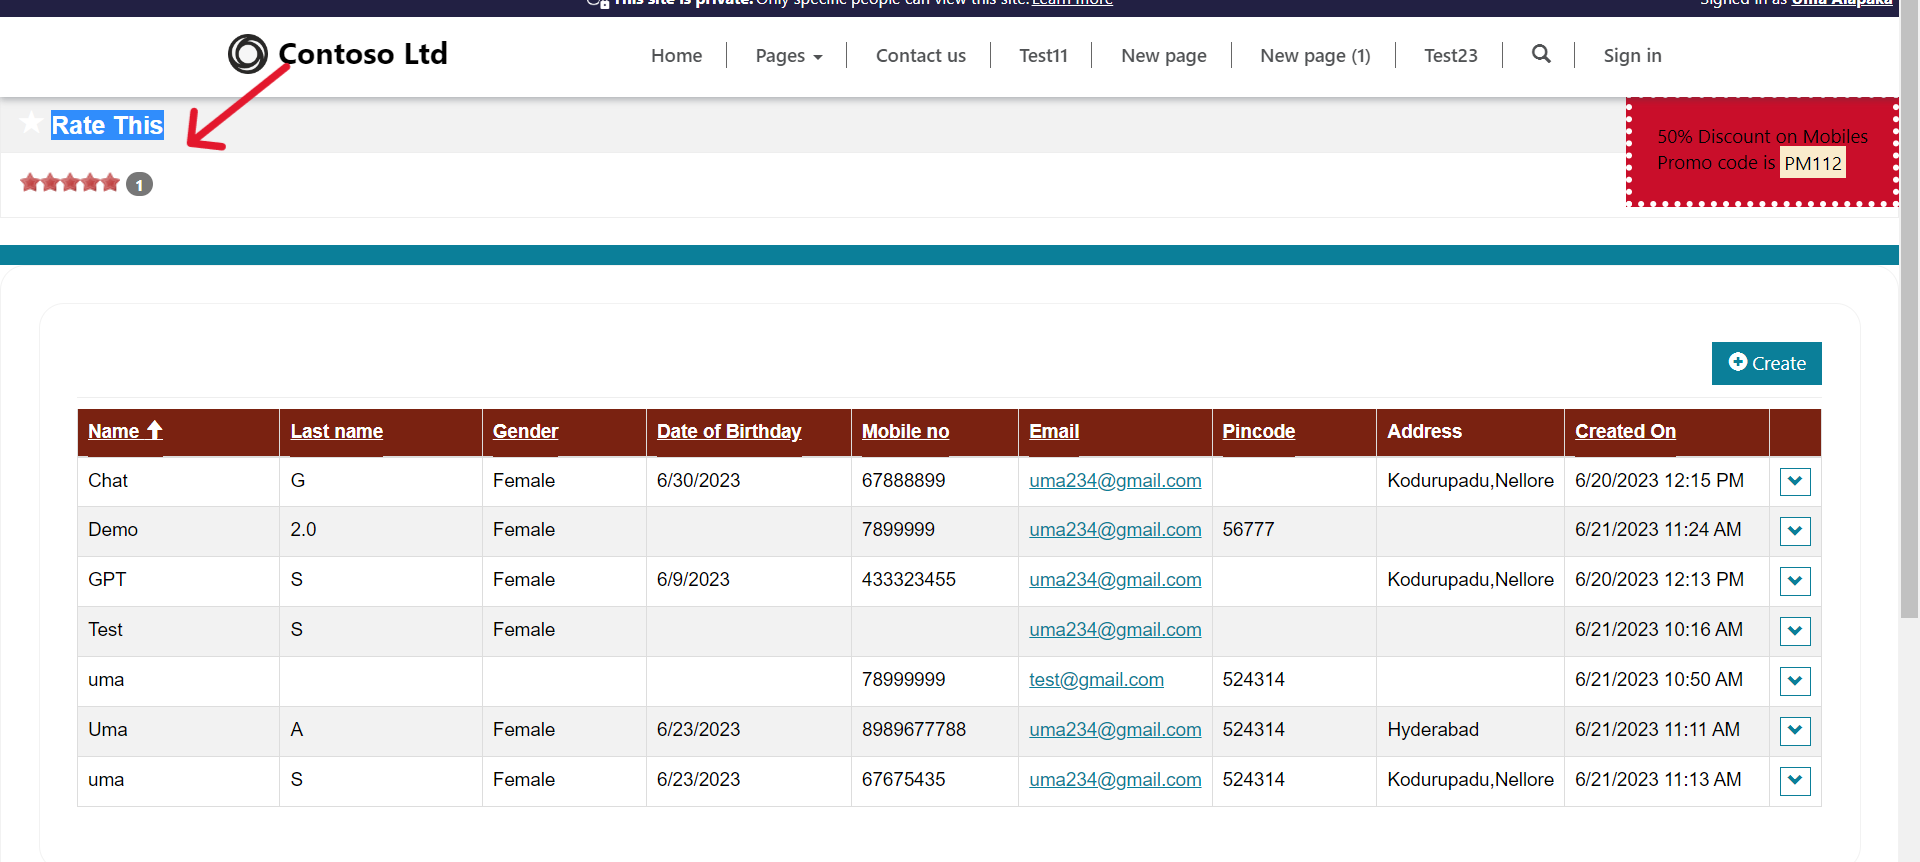
Now save and sync configuration and reload the Portal page. You will see the Rating like the below page.
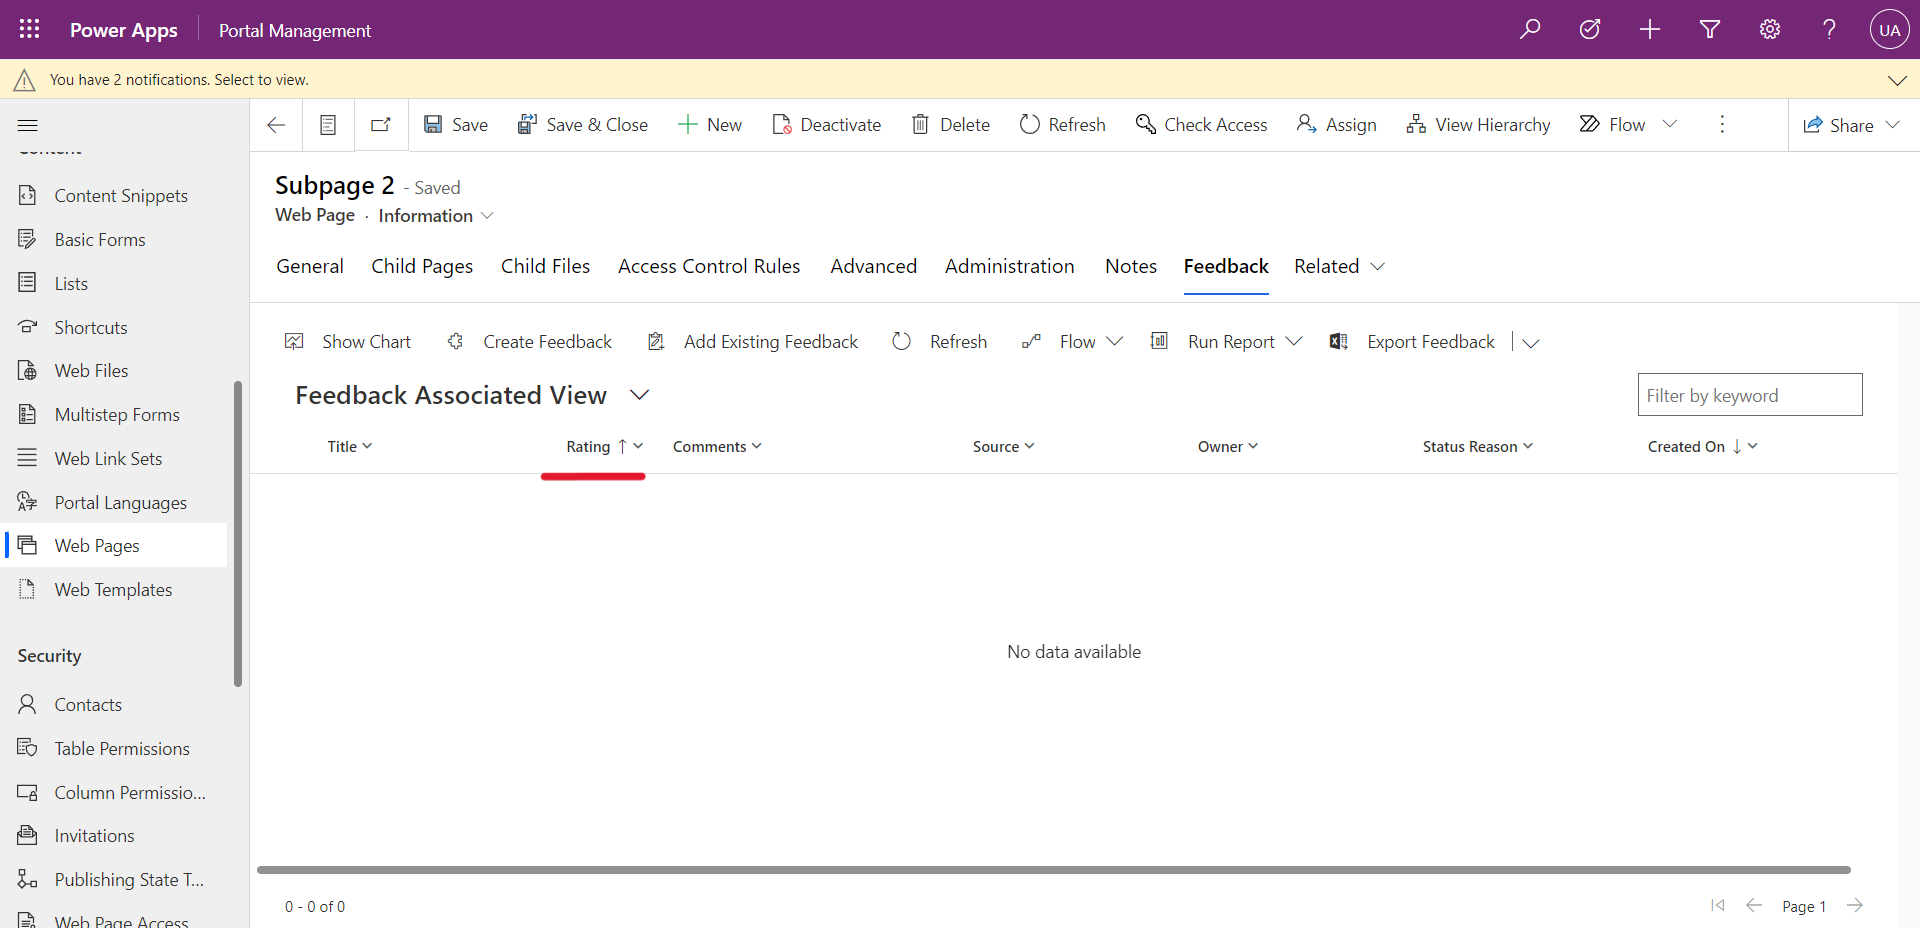
If you want to see the Rating of the Records
- Go to Webpage on your portal management app.
- Go to Related –> Feedback.[ Note: content page in your webpage].
- Now you can see all the ratings related to your webpage.