convert emails to case:
The first step in setting up the ‘from e-mail to case’ process is to update the general e-mail settings. For that we are switching to the old Dynamics 365 interface. From any model app you can access this classic interface via Advanced settings.
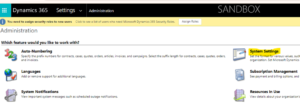
Go to the Administration, System Settings
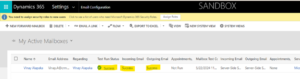
The Microsoft Exchange Online server profile is already created by default. Set incoming email to Server Sync.

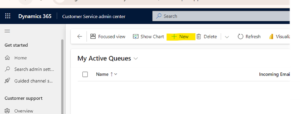
Go to Customer Service Admin app
Next go to Queues and click on basic queues
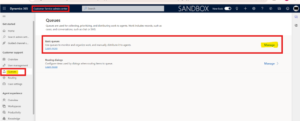
Click on new
Add name to the queue and add the customer support mail where we receive mails and also add the mailbox
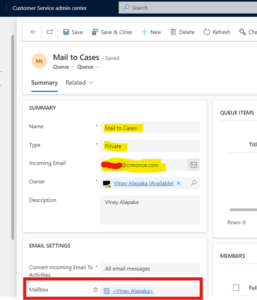
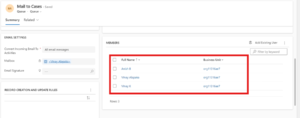
Next add the members to give access to the queue
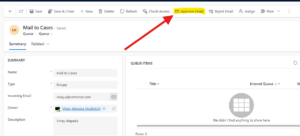
Next click on Approve Email the queue
Next go to the Advanced Settings > Email Configurations

Next open the record
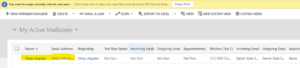
Next Approve Email and next Test & Enable Mailbox
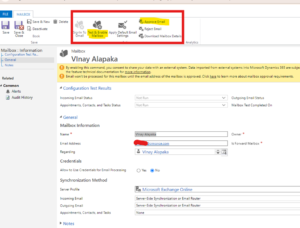
After couple of minutes, it will get success
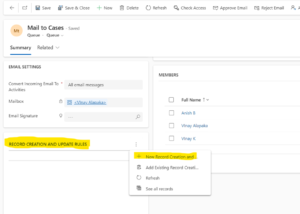
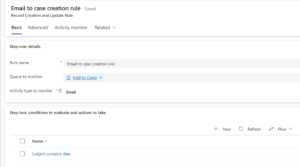
Next create rule for email to case creation
Add a name
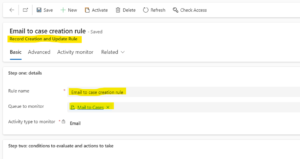
In step two add a condition
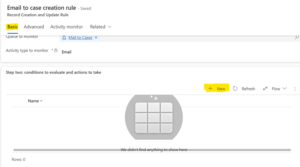
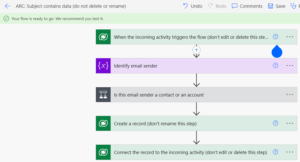
Set it as subject contains data and once saved it will create a Power Automate flow automatically
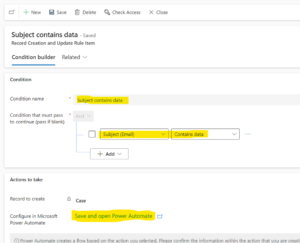
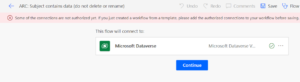
Open the flow Click continue and then Save
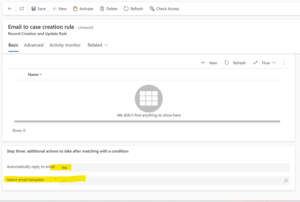
Next go back to the Record creation and update rule
If you want to reply automatically to the received mail, Select Yes and then select the Email Template.
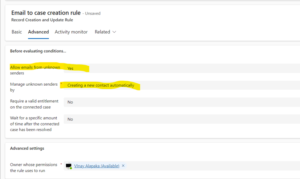
Next in the Advanced tab select the “Allow emails from unknown senders” as Yes and select it as “Creating a new contact automatically”
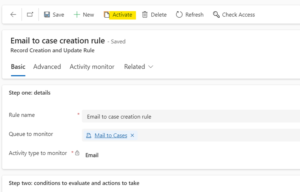
Now Activate the rule
Now send a mail to the customer service mail we have given to test
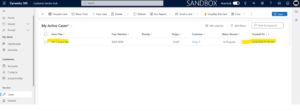
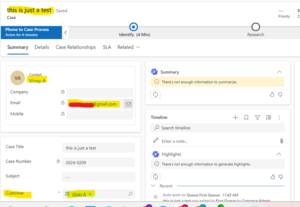
Mail received to the queue and case is created, also contact created