
Setup source and Target environment
Create source and target environments. Both should have Dataverse database enabled. Create an unmanaged Solution in the source environment


Create the Repository to hold the source code

we need give name for the Repository as shown in the below Screenshot


Request parallelism if using Azure DevOps pipelines for first time using then Click link

Within the Project, navigate to Project Settings> Repositories>Security Tab. Under user Permissions, make sure that for Project Collection Service Accounts under Azure DevOps Groups and <ProjectName> Build Service <OrgName> under users Contribute Permission is set to allow

Go to Project Settings->Service connection-> Click on New Service Connection
Select Generic option and click on next

New Generic service connection will open as shown in the below screenshot and entire the details of your Environment and click on save

Create Pipeline – Export from Source
From the left navigation within the Project, click on Pipelines >New Pipeline>Use the Classic Editor

Select the Source as Azure Repos Git, select your Project, Repository and Branch and click continue

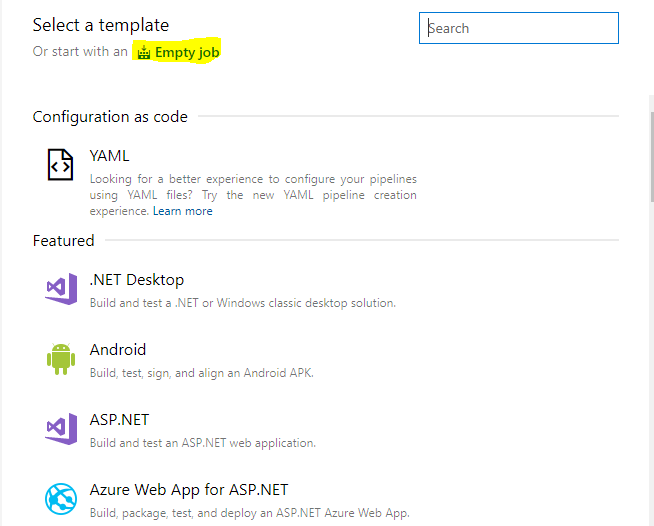
Under select template, start with Empty job
Click Agent Job 1 and make sure Allow Scripts to access OAuth token is checked

Add the task Power Platform Tool Installer

Go to the variables tab and set the variables as shown below screenshot

Add the task Powerplatform Export Solution
For Service Connection, Select Service Principal> Select Dev Service Principal from Dropdown
Provide your Solution Name (not the display name)
Solution output file name $(Build.SourcesDirectory)\$(SolutionName).zip

Add the task Power Platform Unpack Solution
Solution Input File -$(Build.SourcesDirectory)\$(SolutionName).zip
Target Folder to Unpack Solution – $(Build.SourcesDirectory)\CRMSolution
Type of Solution – Unmanged

Add the task Update Solution type (PowerShell)
Type=inline
Add the below script inline
Powershell script:-
cd $(Build.SourcesDirectory)
#for updating version and managed as Both
$content=
[System.IO.File]::ReadAllText(“$(Build.SourcesDirectory)\CRMSolution\Other\Solution.xml”)-Replace(“<Managed>0</Managed>” , “
<Managed>Both</Managed>”)-Replace(“(?ms)^\s+
<MissingDependencies>.*?.*</MissingDependencies>” , “
<MissingDependencies>`n </MissingDependencies>”)
[System.IO.File]::WriteAllText(“$(Build.SourcesDirectory)\CRMSolution\Other\Solution.xml”,$content)
<#write-Host “Build number” $(Build.BuildNumber)
$CurrentVersion = “$(Build.BuildNumber)” #-Replace(“<Version>.*n>” ,”
<Version>$(Build.BuildNumber)</Version>”)
Write-Host”Updated Version”$CurrentVersion
Write-Host “##vso[task.setvariable variable=CurrentVersion]$CurrentVersion”
Write-Host “Updated Version” $(CurrentVersion)
Write-Host “##vso[task.setvariable variable=CurrentVersion]$CurrentVersion”
Write-Host “Updated Version” $CurrentVersion#>

Add the task Commit changes to branch (Command line) and Paste the below script
echo Write Your commands here
echo Commit all the changes
git config user.email “Email”
git config user.password “$(UserPassword)”
git config user.name “user.Pipeline”
git fetch –all
git checkout -b CRMONCE/$(Build.BuildNumber) origin/Develop
git config –local core.autocrlf false
cd $(Build.SourcesDirectory)\CRMSolution
git add $(Build.SourcesDirectory)\CRMSolution\*
git commit -m “adding the unpacked solution”
echo push unpacked solution to new branch
git push –force -u origin CRMONCE/$(Build.BuildNumber)

save and queue the pipeline and wait it to be finished and created a new branch (i.e.‘CRMONCE/264’) in your Repository

Check the repository for the unpacked source code

We have started a new online retail store ![]() Please Visit.
Please Visit.