
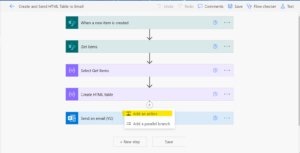
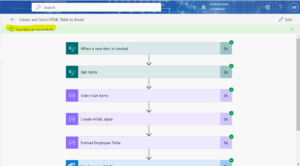
Before Article we discuss about who the html table in power automate. We’ll add padding and color to the html table – insert a new step in between “Create HTML table” and “Send an email” action like below.
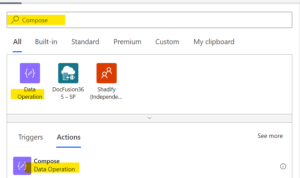
Select “Compose” data operation action like below
Rename your default “Compose” to Format Employee Table as below

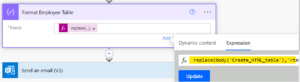
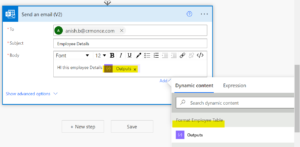
select the appropriate output from “Format Employee Table” as below and save the flow.
We are done with the basic formatting – however, you can explore more about this on your own.
Click on the “Test” button from the top right corner as we did in our previous test and perform the below operation as mentioned in the order and finally, click on the “Test” button
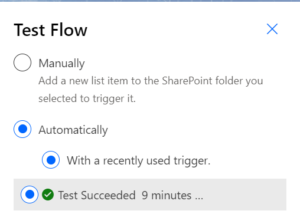
Now, you can see your flow execution status – if everything goes fine you will see the below successful message.
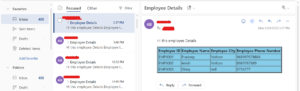
Now go to your office 365 outlook email tab again, you can see the new email has come with proper customer details with a formatted table.
[…] Click Here […]