XrmToolBox is a widely used Tool in Dynamics 365 CRM and it has many Tools, which help us in our day-to-day activities in Dynamics.
In the article, will see how to install Tools in XrmToolBox.
Follow the below steps for Installing FetchXML Tester Tool.
Step 1
Launch XrmToolBox.
Step 2
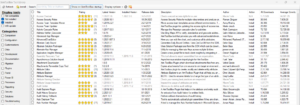
You can see the list of all available Tools in the XrmToolBox Tool Library.
Step 3
Click on Check button in the header to Uncheck all the Tools and will select only the required Tool(s) to Install.
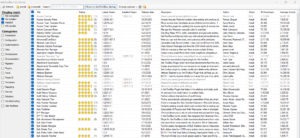
All the Tools are UnChecked now.
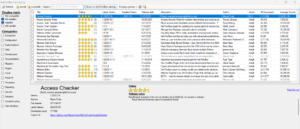
Step 4
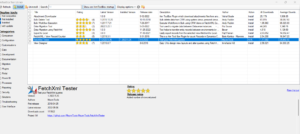
Enter “FetchXML Tester” text in the Search Textbox to get the required Tool in the XrmToolBox.
Step 5
Click on Install.
Note: If you want to Install multiple Tools at a time, select all the required Tools and Click on Install.
Once the installation is successful, you can see the below message and also, the Tool will be greyed out.

Step 6
Close XrmToolBox Tool Library window.
Step 7
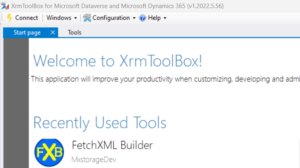
Go to Tools and provide “FetchXML Tester” in the Filter Text box to see the installed Tool.
How to Install Tools in the Dynamics 365 CRM XrmToolBox
Step 8
Click on the Tool to launch it.
Hope you have successfully installed “FetchXML Tester” tool in XrmToolBox.
For any Help or Queries Contact us on info@crmonce.com or +918096556344

