In this blog, we’ll go over how to use Power Apps Office 365 Outlook Connector to get Outlook email details. We will look at how to Fetch Outlook email information Power Apps using the Office 365 Outlook connection.

To connect Office 365 Outlook email from Microsoft PowerApps, Microsoft offers an Office 365 Outlook connector.

First, we’ll make a canvas app using the PowerApps.com website.

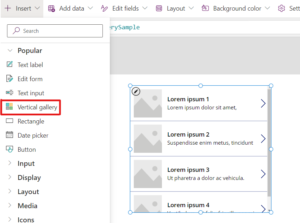
Then add a vertical gallery control from Power Apps input controls to your screen.

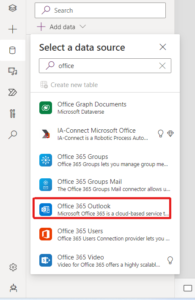
Next, go to the Power Apps, choose the data source, and add a new connector called Office 365 Outlook.

Next, navigate to the Gallery and set the Item property as shown below.

Office365Outlook.GetEmails({fetchOnlyUnread:false})

In the gallery, set the Text property of the first label to ThisItem.From. Set the second label to ThisItem.Subject. Set the third label to ThisItem.BodyPreview. You can also resize the labels.

The gallery control is automatically populated with the new properties.

I have designed my gallery like this.

Next, Send Mail from PowerApps

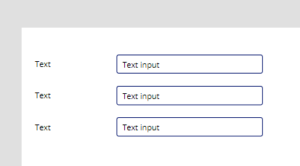
in the PowerApps Screen Add 3 Text inputs and 3 labels

Next Rename the Controls to:

  • To
  • Subject
  • Body

Next, Add a button and Set its OnSelect property to the following formula:

Office365Outlook.SendEmail(To.Text, Subject.Text, Body.Text)