Navigate to Advanced Settings by clicking Settings (a cogwheel icon on the top right). Please make sure you are logged in as a user with Admin rights if you can’t locate this.
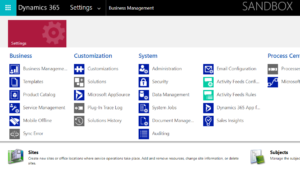
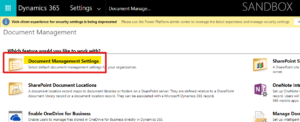
Open settngs and select System – Document Management.
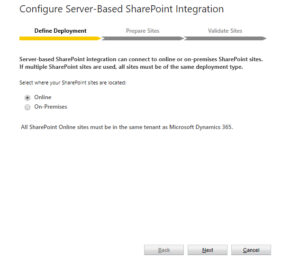
Select the choice Configure SharePoint Server-Based Integration

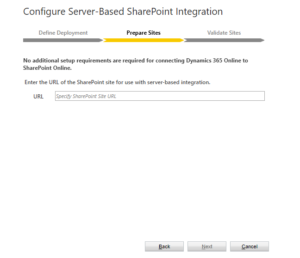
Indicate whether your SharePoint is online or on-premises in the process that will launch. Both can be connected to the SharePoint interface. Even numerous SharePoint sites can be connected, but they must all be online or on-premises.
You must now input the URL of the SharePoint site you want to use, assuming you selected Online in the previous step.
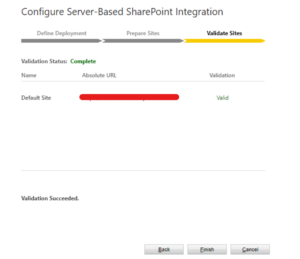
The last stage to enable your Server-Based SharePoint Integration is clicking the Finish button, assuming the validation is successful.
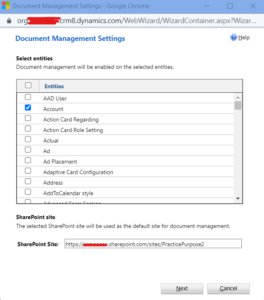
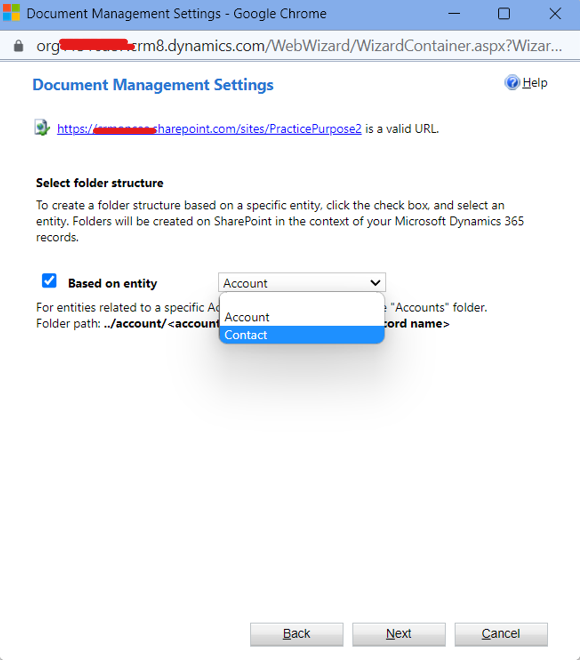
The entities that should be allowed for SharePoint folders can now be selected by returning to your Document Management screen.
Check the entities under which you intend to store documents in the pop-up window and then select Next.
The folder structure can then be decided. Following are your choices:
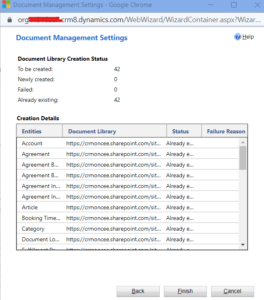
Select what you want, then click Next. At this point, we might have to wait a little while the document libraries are created. After completing that, click Finish.
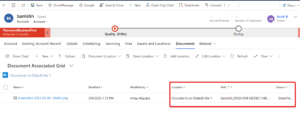
The integration is now operational! You will now find a document option under the entities you activated on the Dynamics 365 side. You can see the document we created for an Account in the screenshot below. Note that it uses SharePoint for storage.
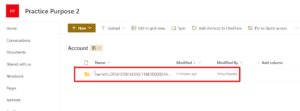
On the SharePoint side, you can see the Account folder, followed by a folder for this particular account, where all of the documents for it are kept.