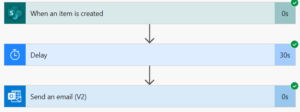
Now we’ll create a Flow that will wait one minute after the item is created in SharePoint before sending an email.
Here I am created the below SharePoint List for this flow.

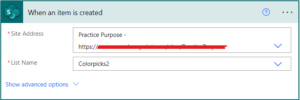
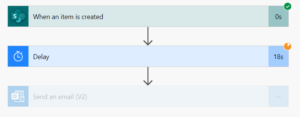
Next Select a trigger ‘When an item is created’-SharePoint, then enter the site address and List name.
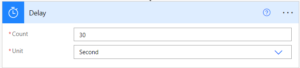
Then, on the next step, add a delay of 30 seconds, which will pause the flow for 30 seconds before proceeding to the next step. Select the Delay action, then count 30 and set the unit to Seconds. You can adjust the delay here to suit your needs.
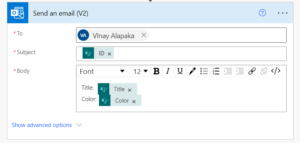
Next, we’ll send an email, so click Next and then choose Send an Email (V2). Then fill out the To, Subject, and Body fields of the email.
Now click on Save and run the Flow by creating an item in the SharePoint list.
After 30 Seconds you can see my Flow ran successfully.