Here, we’ll look at the location of the Power Apps timer control and how to add it to the Power Apps screen.
The instructions listed below should help you locate the Power Apps Timer Control:
![]() Select the Insert tab, Input, and Timer options on the Power Apps screen.
Select the Insert tab, Input, and Timer options on the Power Apps screen.![]() Choose the control. It will appear on the screen as shown below:
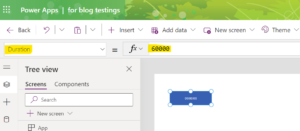
Choose the control. It will appear on the screen as shown below:
When the control is added, we can see that the duration is by default set to 60000. This translates to 60000 milliseconds = 60 seconds, which can be extended to 24 hours.
This is how to add a timer control to the Power Apps screen.
The steps to work with this requirement are as follows:
![]() Add a timer control to the Power Apps panel.
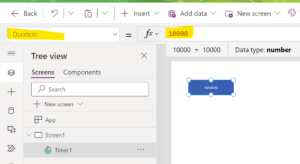
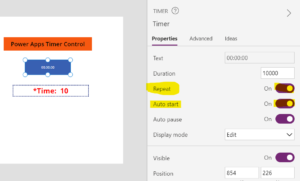
Add a timer control to the Power Apps panel.![]() Make the Duration 10000. (10 seconds).
Make the Duration 10000. (10 seconds).
![]() Place a Label control below the timer control on the screen.
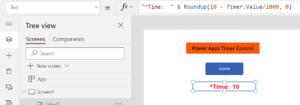
Place a Label control below the timer control on the screen.![]() In the Label control’s Text property, enter the expression shown below.
In the Label control’s Text property, enter the expression shown below.
Where Timer refers to the Power Apps Timer control.
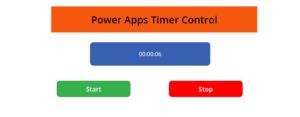
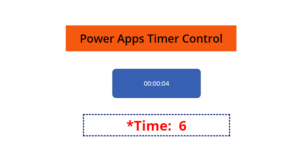
That’s all! For the time being, save and preview the app. When we click on the timer control, the seconds and remaining time are displayed in the label control shown below:
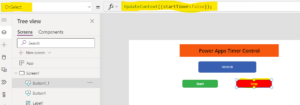
Set the updatecontext variable name, i.e., startTimer, on the Power Apps Timer control’s Start property.
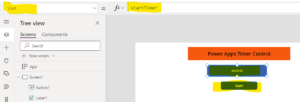
The name of the update context variable established in the preceding example is startTimer. Change the variable’s value to false.
When you first start the timer, it may not operate in some circumstances. Stop the timer and then restart it in this situation. Then it will work properly.
This is how to use a button in Power Apps to end a running timer control.