
Creating a flow with all input types
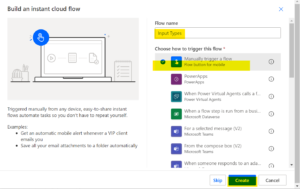
Go to Power Automate. Click on Create from the left side panel and click on Instant cloud flow.

Give a name to your flow. Select Manually trigger a flow and click on Create.
We have our Manually triggered a flow created. Click on Add an input.
manualy-trigger-flow-input-add-an-input-power-automate
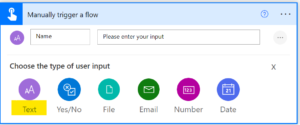
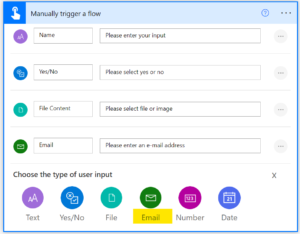
We have different types of user input options like Text, Yes/No, File, Email, Number, and Date.

Choose the Text type of user input. Click on Add an input.
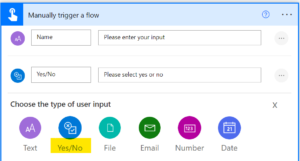
Choose the Yes/No type of user input. Name it as Yes/No as well as in the text box “Is this an urgent issue?” Click on Add an input.
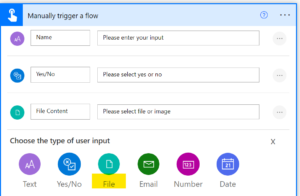
Choose the File type of user input. Name it as Image. Click on the New step.
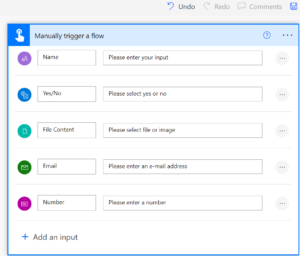
Choose the Email type of user input. Name it as Email ID. Click on Add an input.
Choose the Number type of user input. Name it as Employee ID. Click on Add an input.
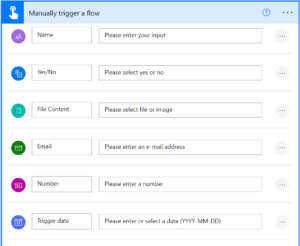
Choose the Date type of user input. Name it as Issue Date.
Select Delay from actions and set Count to 2 and Unit to Minute.

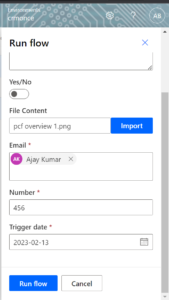
Save and Test the flow. This is how it will appear for all input types. Enter the details and Run flow.
For any Help or Queries Contact us on info@crmonce.com or +918096556344