We will learn how to Lock and Unlock fields in Microsoft Dynamics CRM using JavaScript in this blog.
In order to do that, we must first enter into Dynamics CRM, click to Settings, and then choose Solutions.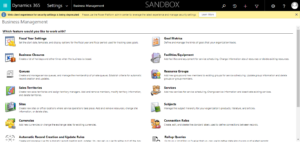
From every available solution To complete our required task of Locking and Unlocking the Field, use any one solution.
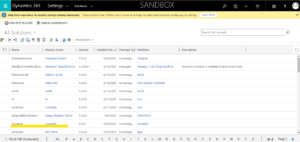
from the chosen solution Choose an existing Entity or create a new one.
Well, I’m making a new entity called Lock and Unlock.
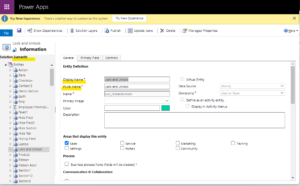
Created some fields for the “Entity” once it was ready.
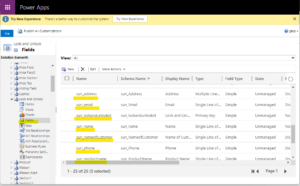
Take the newly created “Tab” with the name “Lock and Unlock” and drag and drop all the fields into the just constructed form as shown below.
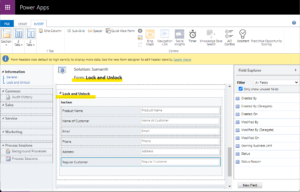
Once all the fields have been added, click “Save” and “Publish” on the form.
Create a new “Web resource” called “LockandUnlock” by going to “Web Resource” next.
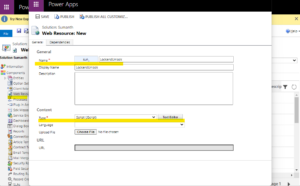
Write the “JavaScript” code in the “Text Editor” as it is displayed below.
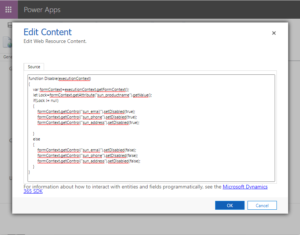
Once you’ve finished writing the code, save it and make it publish.
The code functions similarly to you After entering the product name, choose another field, and the fields that we have code in are automatically locked.
Go to forms after the code is finished and add the Form Properties.
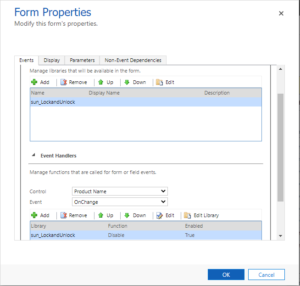
after adding Form Properties Save and Publish the Form Again.
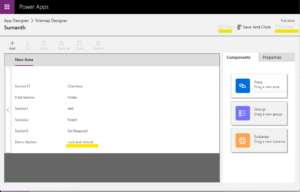
Go to “Model Driven apps” after the “Web Resource” is finished and add the “Entity” to the site map.
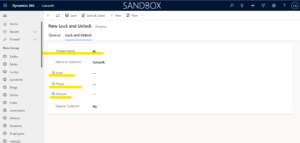
After entering the product name and selecting the next field, the fields become locked as seen below.
Once the Product Name has been removed, Locked Fields are once more Unlocked as indicated below.
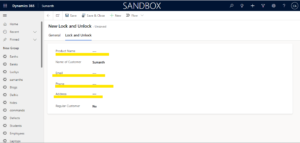
By using JavaScript, we can Lock and Unlock the Fields in accordance with our Requirements.
For any Help or Queries Contact us on info@crmonce.com or +918096556344

