In this blog, we’ll use JavaScript to make a field mandatory. To do this, we’ll need to sign in to Dynamics CRM.
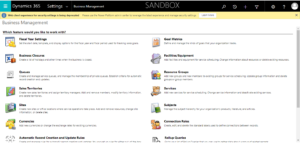
go to Settings, choose Solutions, and then select the solution for which you wish to take the necessary action.

Choose an entity from the solution or create one.
One Entity called “Make Required” was one I created.
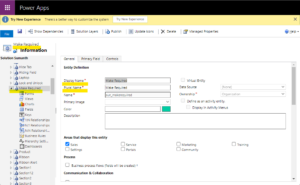
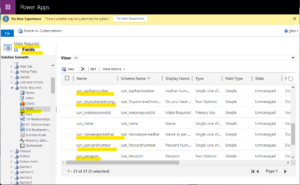
Create certain fields after the entity is created as shown in below.
Take one “Tab” with the name of “Required Fields” , now Drag and drop operations are required to complete the form as it is displayed below.
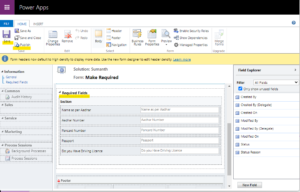
The form needs to be saved and made publish to available for the relevant tasks.
Create a new “Web Resource” with the name “MakeRequired” by going to “Web Resource” right now.
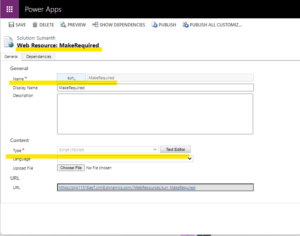
There is a “Text Editor” in the “Web Resource” where you can enter JavaScript code, as seen below.
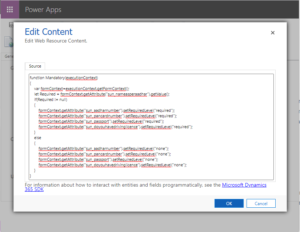
Now save and Publish the web Resource.
Select Form Properties from the Form menu.
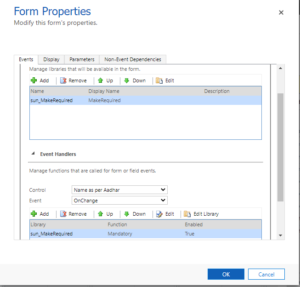
For results, save and publish the form.
To see the outcome, open the Model Driven applications and add an entity to the site map.
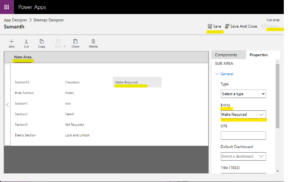
Provide the “Name as per Aadhar” and other information in the result, then remove the Name so that it says “No mandatory marks” on the result.
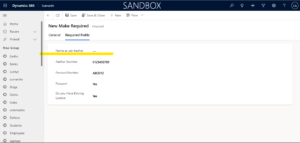
Simply entering your name causes the required fields’ checkmarks to become visible.
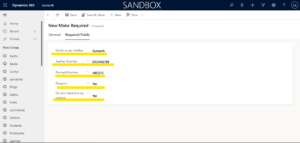
This is how we can use JavaScript in Dynamics 365 to add mandatory fields.
For any Help or Queries Contact us on info@crmonce.com or +918096556344

