In this article, we will see how to add a confirmation pop-up screen for changing the status of an item in gallery control. This can be done using rectangle control , but you must group all the controls for the pop-up screen and set properties individually for the controls used in the confirmation screen.
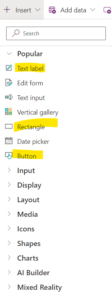
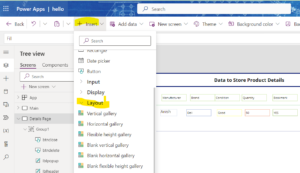
After that add 2 Text label and 2 Buttons And Rectangles to the form after that we need group all Controls.
As show in the below screenshots.
After that we need to group all the control below the screenshot
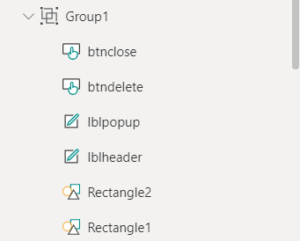
I have applied the some change to the group and color to the label and button and rectangle and text label i change all color and name according to my Requirement.
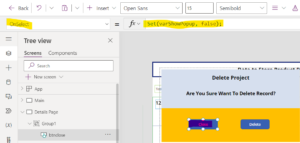
The following code is required to show this pop-up message. i have applied to button.
I have add this formula for button close as show in the below screenshot.
I have add this formula for button Delete as show in the below screenshot.

After that we need to save on the screen then interest the gallery to the Screen as shown in the below screenshot
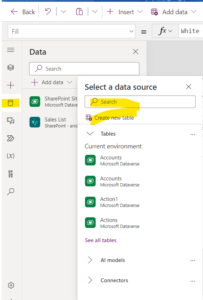
we to need add the data from data source and click choose site and add the site SharePoint or current environment to the Gallery.
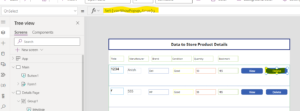
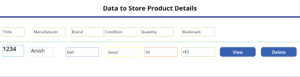
I have add to the my gallery some text table and button as my requirement.
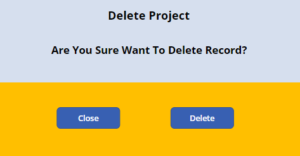
Finally When we click on the delete button it show pop on the screen and click on delete buuton in the pop and as show in the below screenshot.

Finally when we click on delete button its automatically delete the row in gallery as show in below screenshot.
Summary
In this article, I discussed how to use Power Apps control to create a pop-up confirmation message box Once this message box is visible, you can see the parent screen behind it but can’t edit anything on the parent screen.
For any Help or Queries Contact us on info@crmonce.com or +918096556344