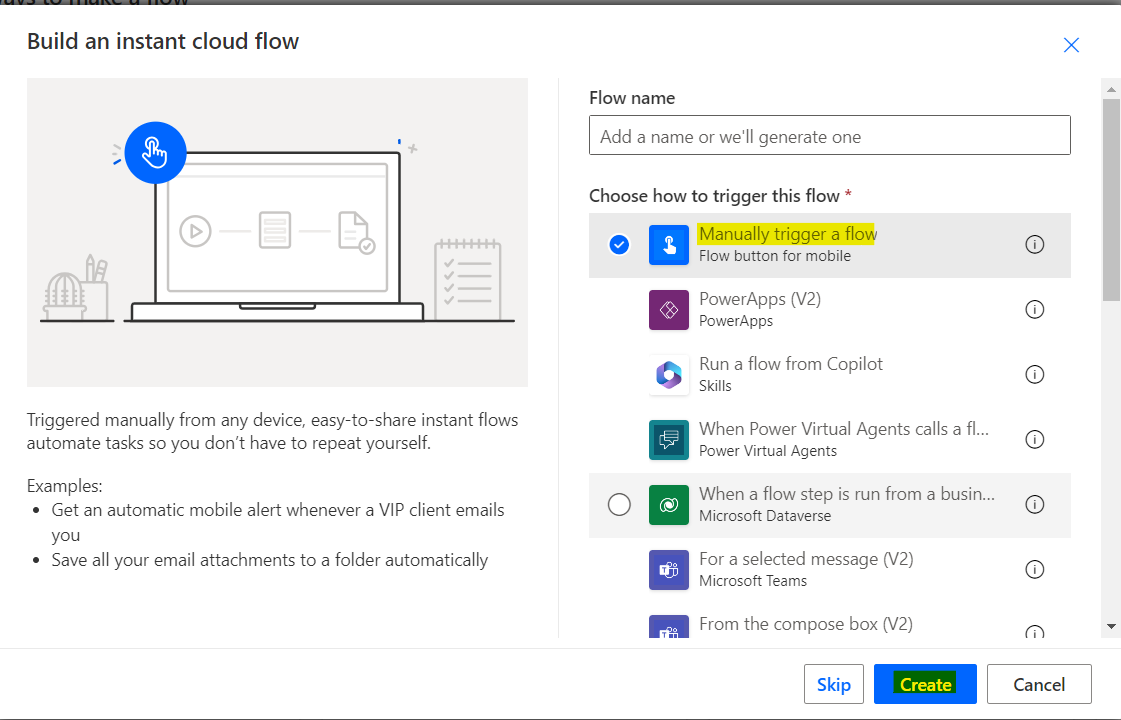
Step-1
We will create an instant cloud flow for this tutorial that will trigger manually. We will provide a name for the flow and click on the “create” button.
Step-2
Next, we will add the ‘Get Items‘ of SharePoint action from the operators of Power Automate.

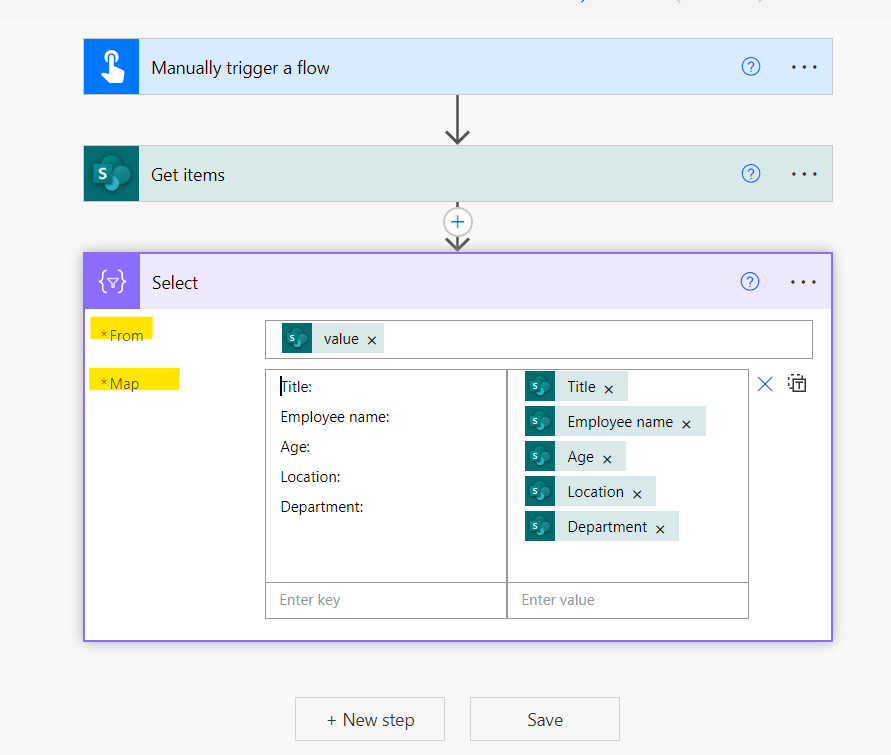
Step-3
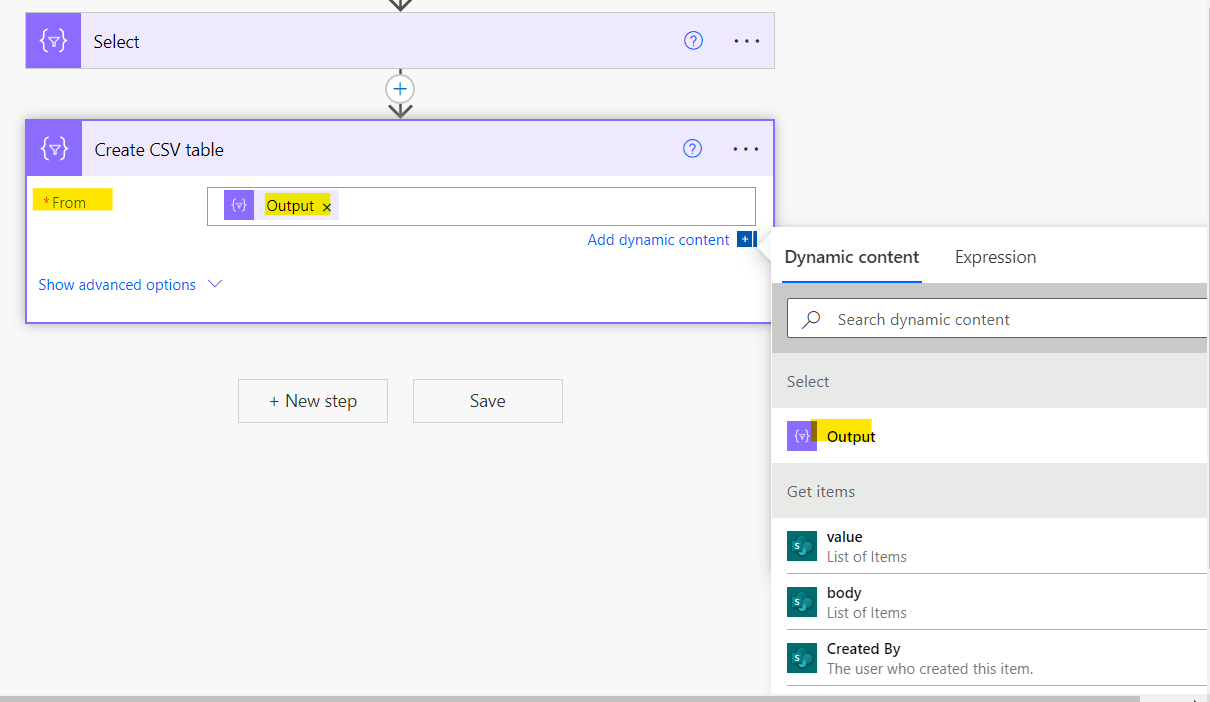
In this step, we will add the ‘Select‘ data operation to map the array of the Sharepoint list items as shown in the below image.
Step-4
In the next step, we will add the “Create CSV table” data operation of Power Automate. In the ‘From‘ field, we will provide the output of the previous action which is the select data operation.
Step-5
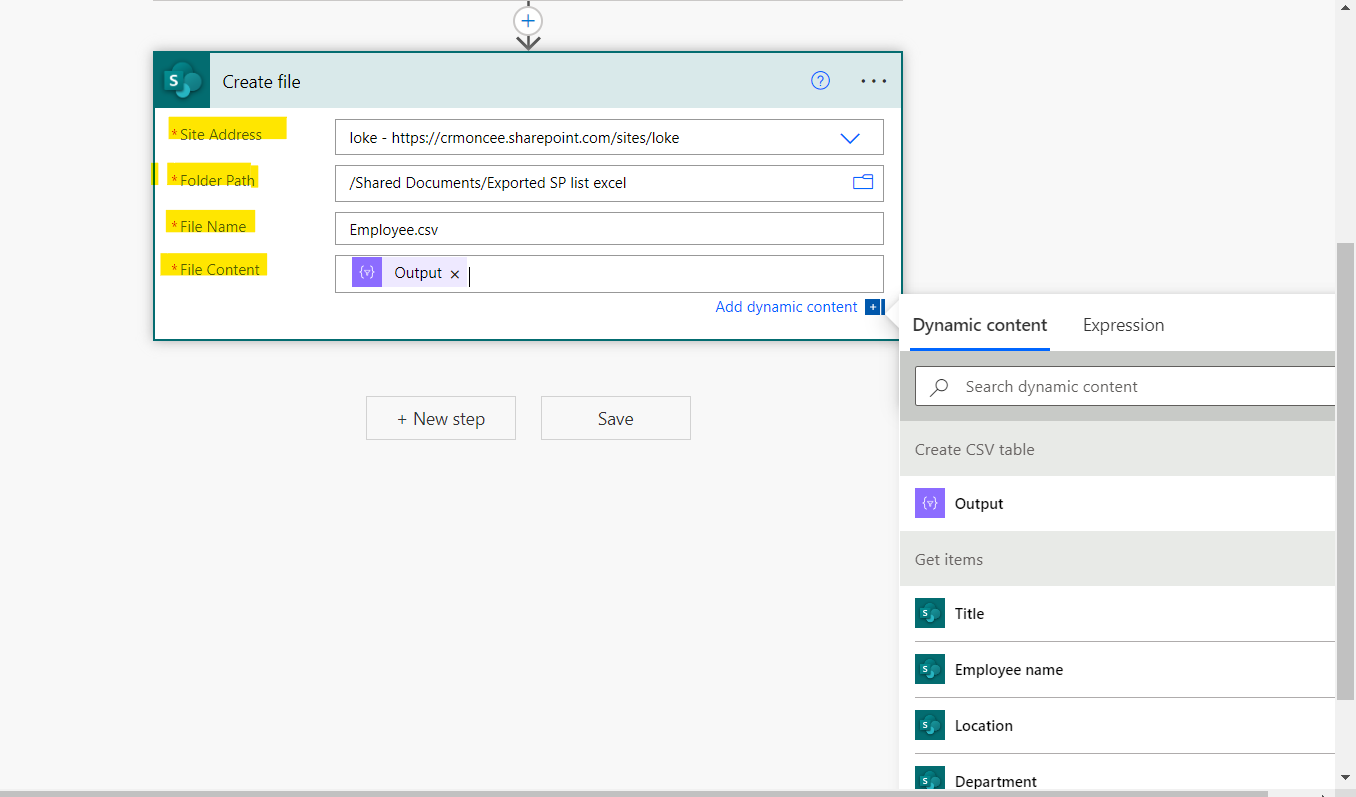
In this step, we will add the “Create file” SharePoint operation of Power Automate.
We also have to provide the name of the file with .csv file extension. Here, we have given ‘Employee.cvs‘ as the name of the file.
Step-6
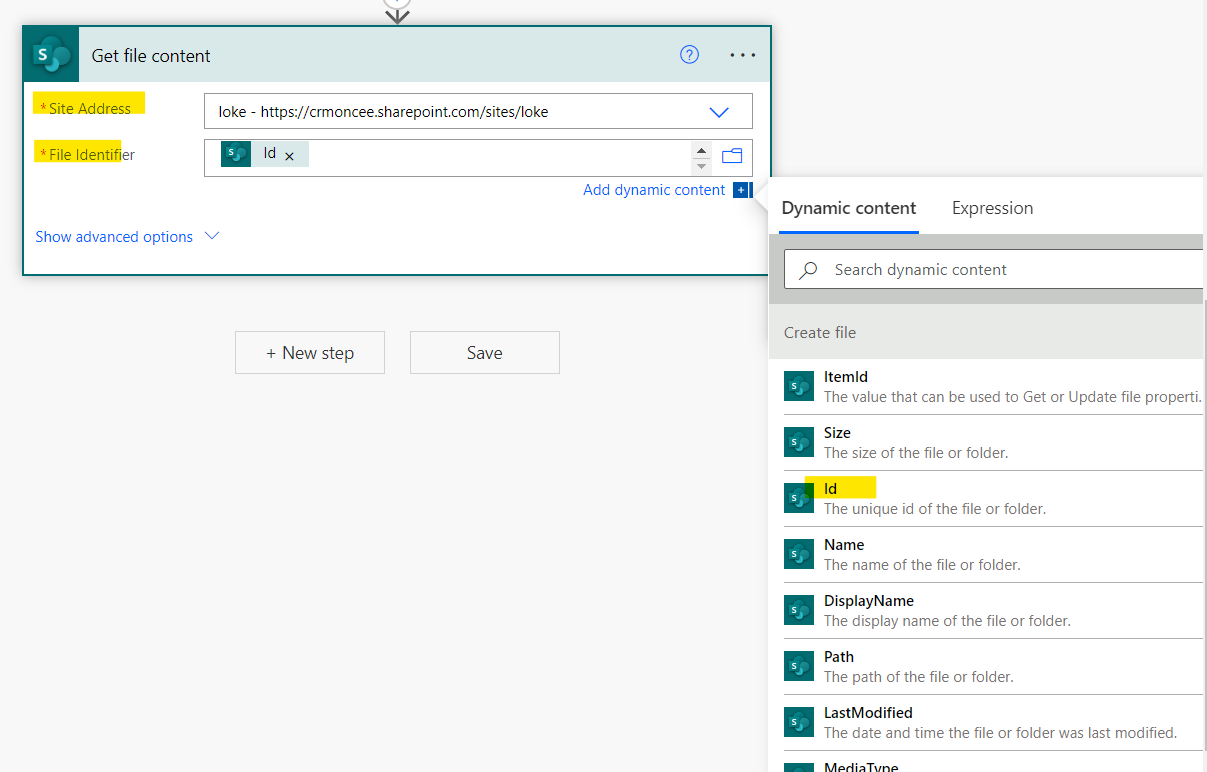
We will now add the “Get file content” Sharepoint action in our Power Automate Flow.
Step-7
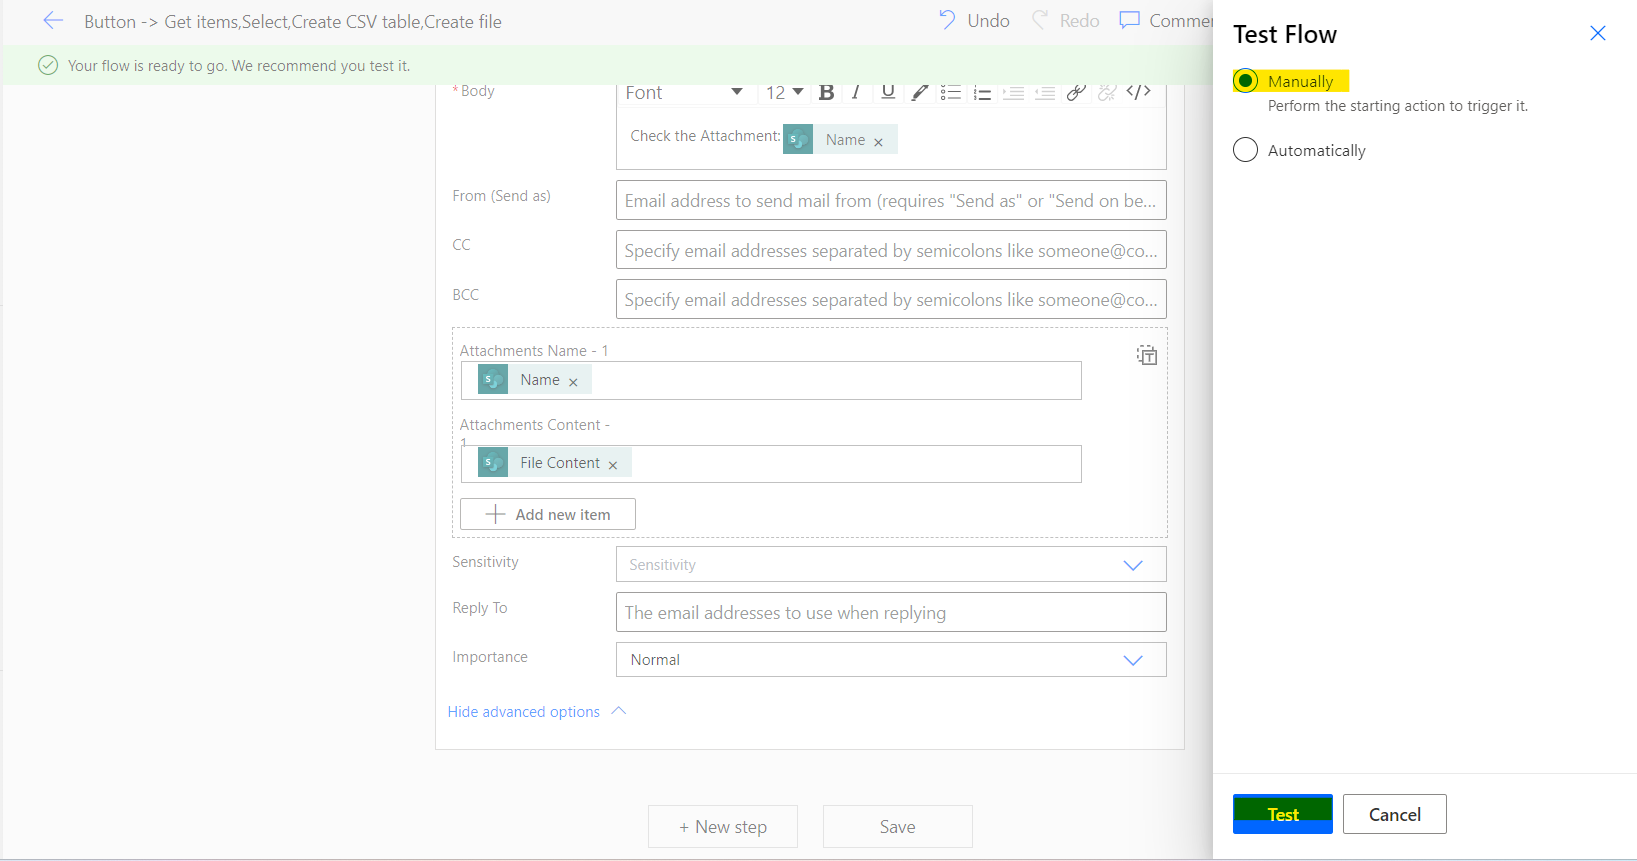
We will add the “Send an email” outlook action and we will provide the email ID

Step-8
Now we can ready to run the flow. save and test it.
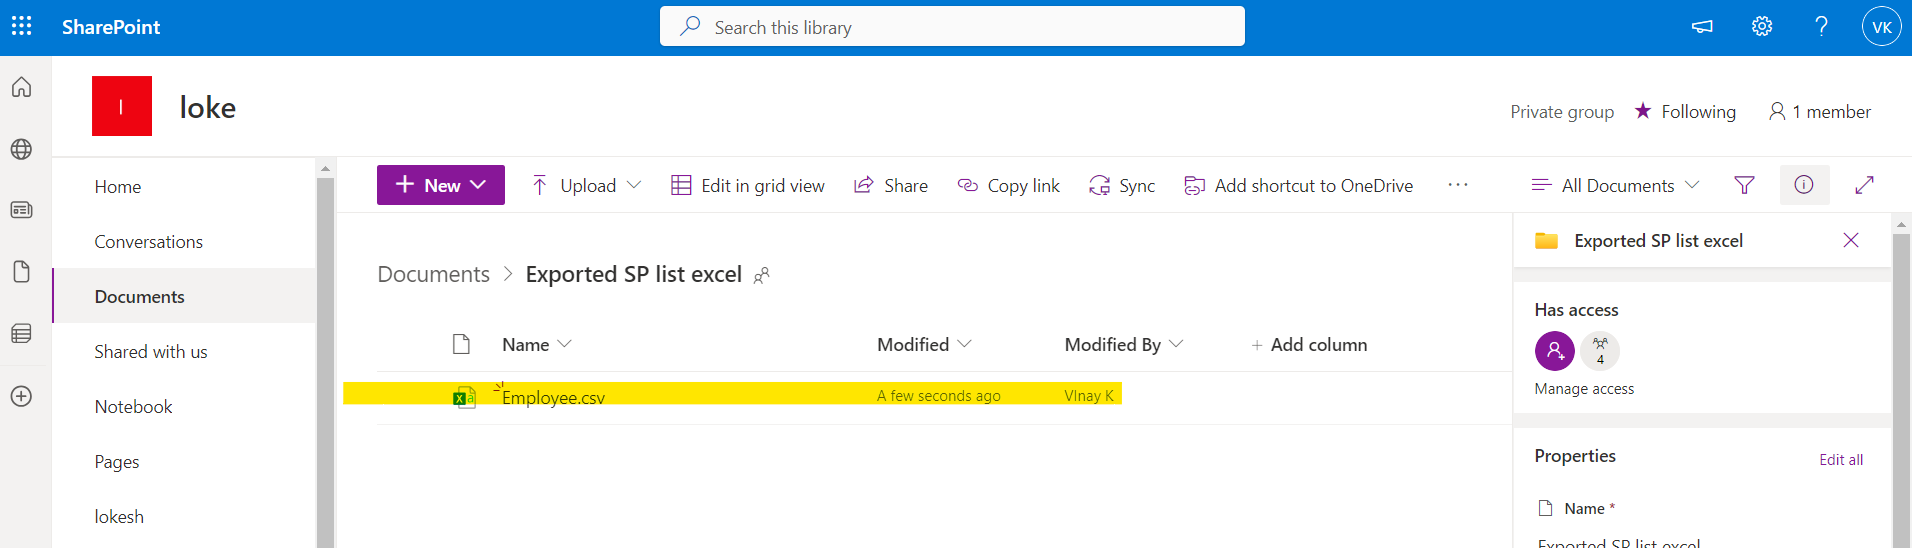
Step-9
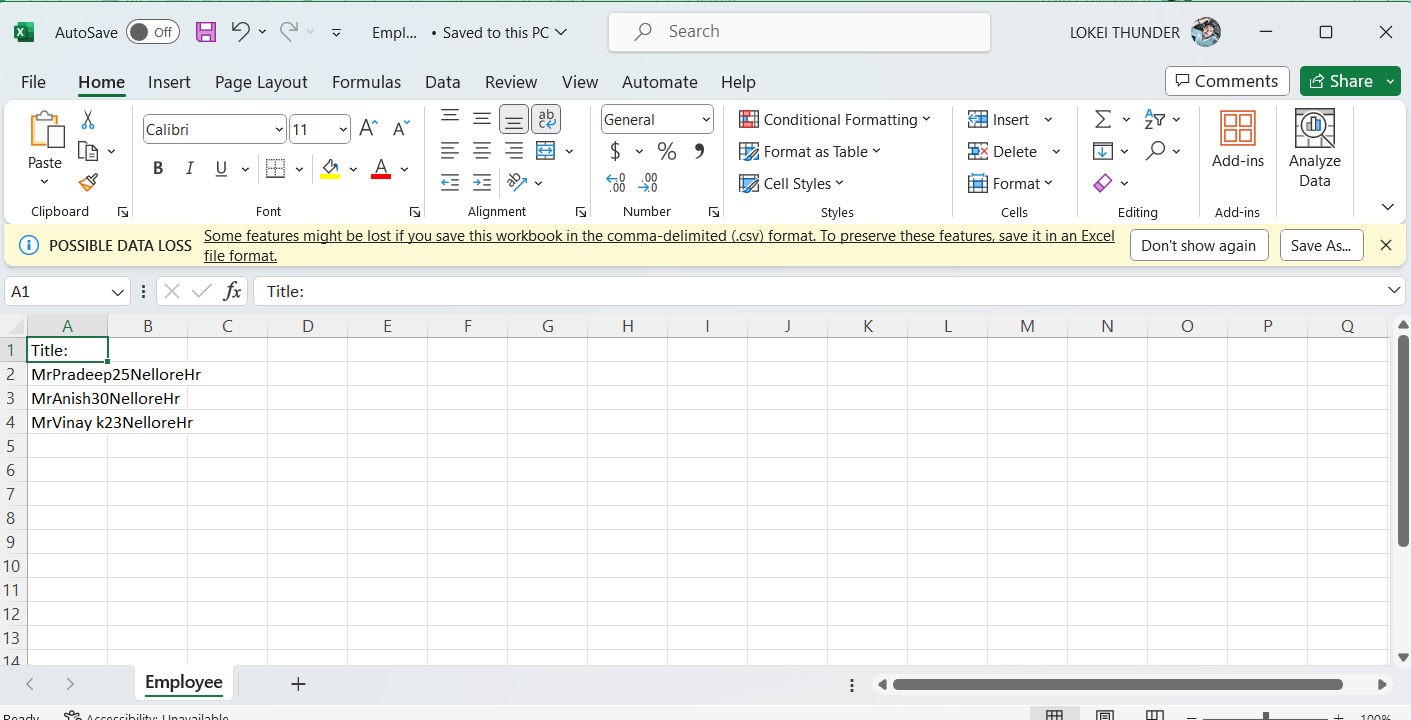
Now we can see the flow run the successfully in the share point document list open the Exported SP list excel in it create the file employe.cvc.
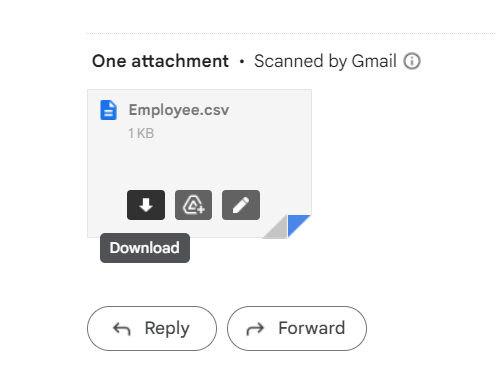
Step-10
The flow run the successfully. We will receive the above email cvs file. see the email inbox
Output: