Introduction
RadioButton
RadioButton enables the user to select a single option from a group of choices when paired with other RadioButton controls. When a user clicks on one RadioButton, it becomes checked and all other RadioButtons in the same group becomes unchecked.
Follow the steps, mentioned below to work with RadioButton in PowerApps.
Step 1
Log in to the PowerApps
After downloading PowerApps from the Windows store, we need a Microsoft-related organization’s Office 365 ID or (Microsoft, Skype, Office 365, etc.,) to login with.
After login, we can see the dashboard. Subsequently, we click on the Create.
Choose Create Canvas App.
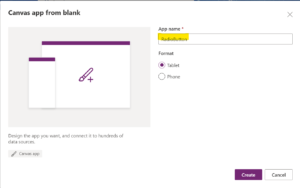
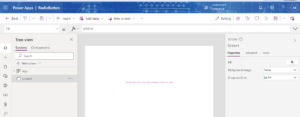
Designing the App
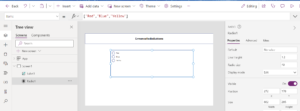
Now, let’s start designing the app. On the left side, we can see the individual screens to add our data. On the right side, we see the list of layouts. On the top, we see the formula bar, where you can see the Properties of the screen, which are selected by you. On the right side, we see the Add DataSource to add the external DataSource.
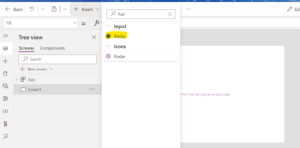
Drag and Drop the Radio Button Control
Go to the Insert menu and drag the RadioButton tool.
Add the options.Select the RadioButton and add the options for the RadioButton to the Item event.
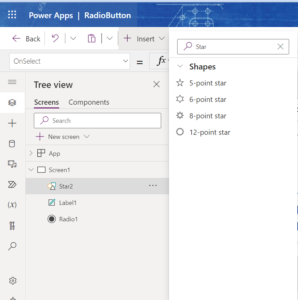
Drag and Drop the Shape Control Tool
If you select the options, the changes appear on the Shape.Go to the Insert menu, choose Icons, and drag the 6-point Star Shape.
Draw the Shape control to the screen
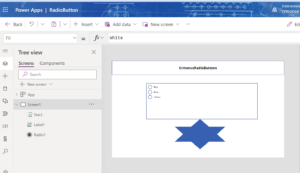
Add the coding.
Select the Shape control and add the coding to the Fill event.
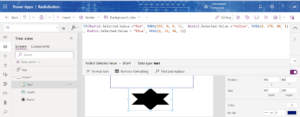
Coding
If(Radio1.Selected.Value =”Red”, RGBA(192, 0, 0, 1),
Radio1.Selected.Value =”Yellow”, RGBA(255, 165, 0,1),
Radio1.Selected.Value = “Blue”, RGBA(0, 32, 96, 1))
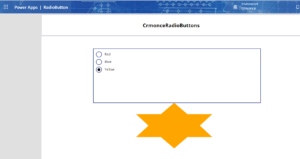
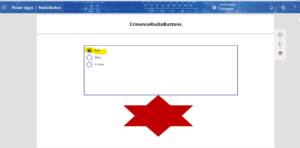
Main Screen Always look Black when we Selected the Color its will change the automatically in the Star color.
When we Select Color red star will be Change into red .
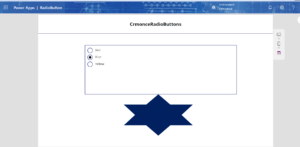
When we Select Color Blue star will be Change into Blue.
When we Select Yellow Blue star will be Change into Yellow.