Introduction
In this blog, we are going to see how to upload a file to SharePoint from PowerApps.
Login into Make.powerapps.com
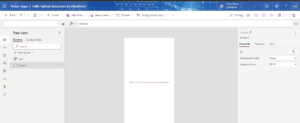
Click Create and Select the Blank app after that selected the Blank Canvas app-> click Phone -> select Save -> select New Screen
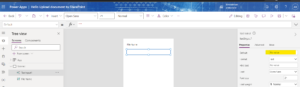
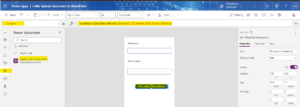
Create one new Text label -> click Insert and select Text label->Rename the text label To file name as shown in the screenshot.

Click Insert -> select Text Input -> Select Textbox for get file name from user We can set a Textbox default value, I am leaving the default value is empty.
Same as above two steps take one text label and Text input for file Content.
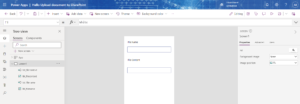
Click insert->Choose button and place button the Screen
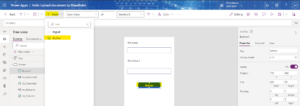
Change the button Name -> Properties -> Text
We Created the one SharePoint Document Library in the SharePoint
Then click on powerAutomate->create a flow
Create New flow->Connect SharePoint->Create file
Choose Site collection->Chose Document Library from site collection
integrating with PowerApps->click on Ask in PowerApps
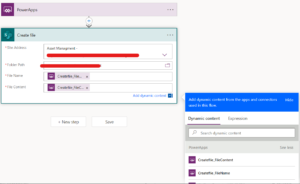
Save the flow and add the flow to PowerApps.
As shown in the Screenshot
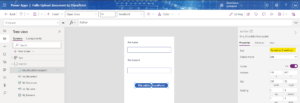
CreateFile_FileName – txtfilename
CreateFile_FileContent – txtfilecontent
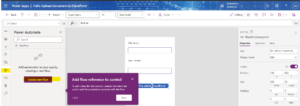
Formula bar
Parameters for flow UpdateafiletoSharePoint.Run(txt_filename,txt_filecontext)
Save and Publish the app as shown in the below screenshot
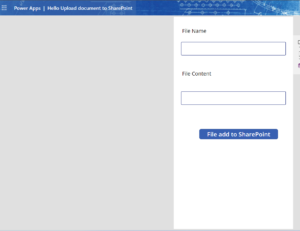
Enter the File name and file content and click on the button the flow trigger the output will SharePoint

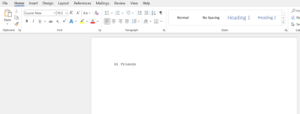
Here the output